How to Use the Class Schedule Management System of Better Teaching Solutions
This guide will walk you through everything you need to know about creating, managing, and exporting class schedules in Better Teaching Solutions (BTS).
The Class Schedule Management System lets you build weekly schedules per classroom, section, or teacher. while automatically preventing conflicts and saving hours of manual planning. By following this guide, you’ll be able to organize schedules clearly, adjust them easily, and generate ready-to-print documents in just a few clicks.
Core features
- Weekly class schedule builder - Create subject schedules by day and time
- Convenient Schedule editor - Rearrange schedules without deleting entries
- Ready to Print Schedules - Print your weekly schedule directly from the editor
- Export to Word - Download a formatted weekly schedule for printing or sharing
Accessing The Class Schedule Page
How to access the class schedule page:
- From the Dashboard, go to the left sidebar.
- Click Classroom Schedule from the menu.
- You will now see the scheduling interface with filters and a weekly grid view.
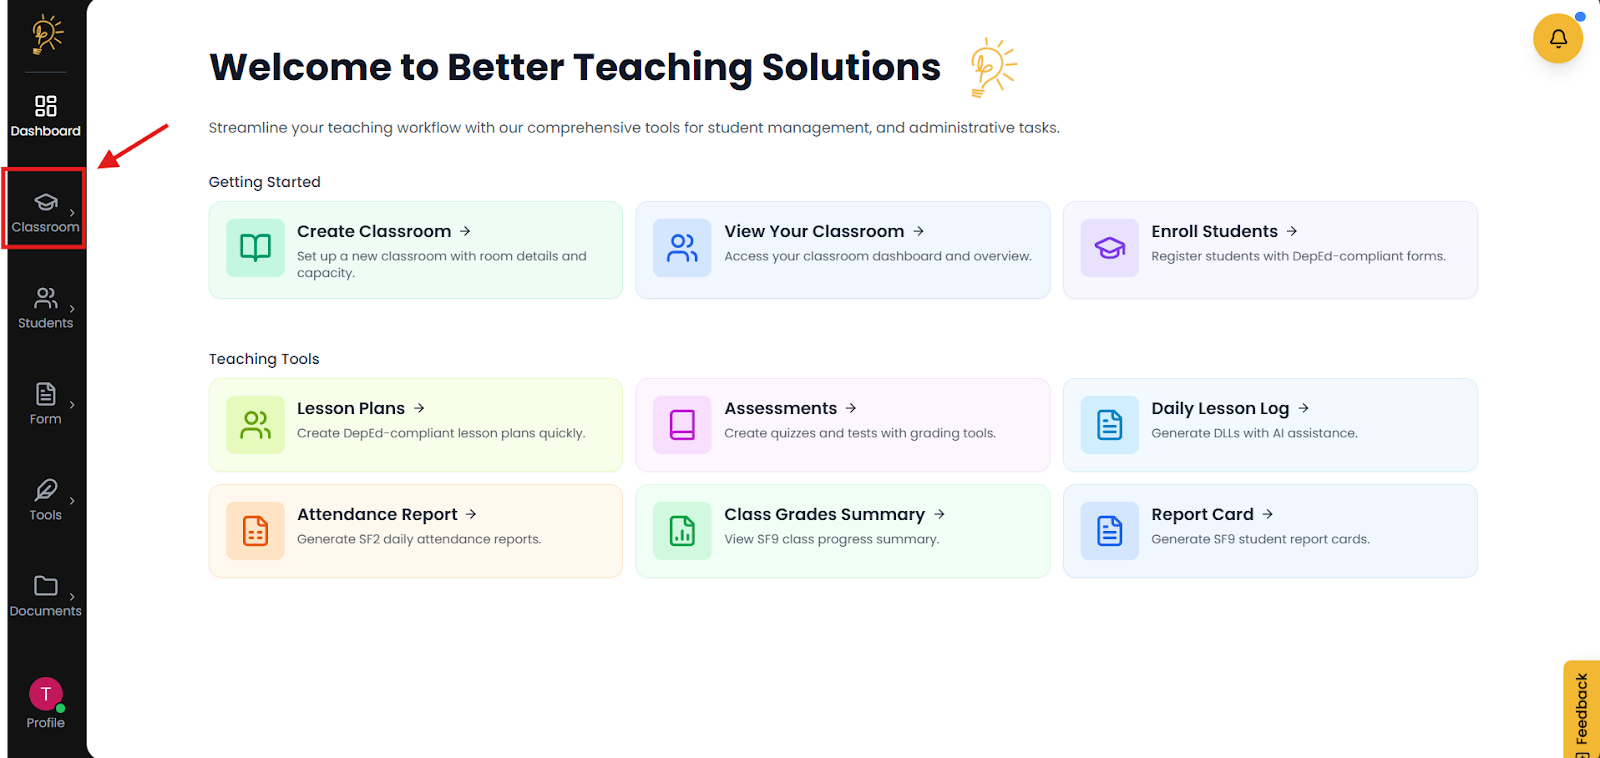
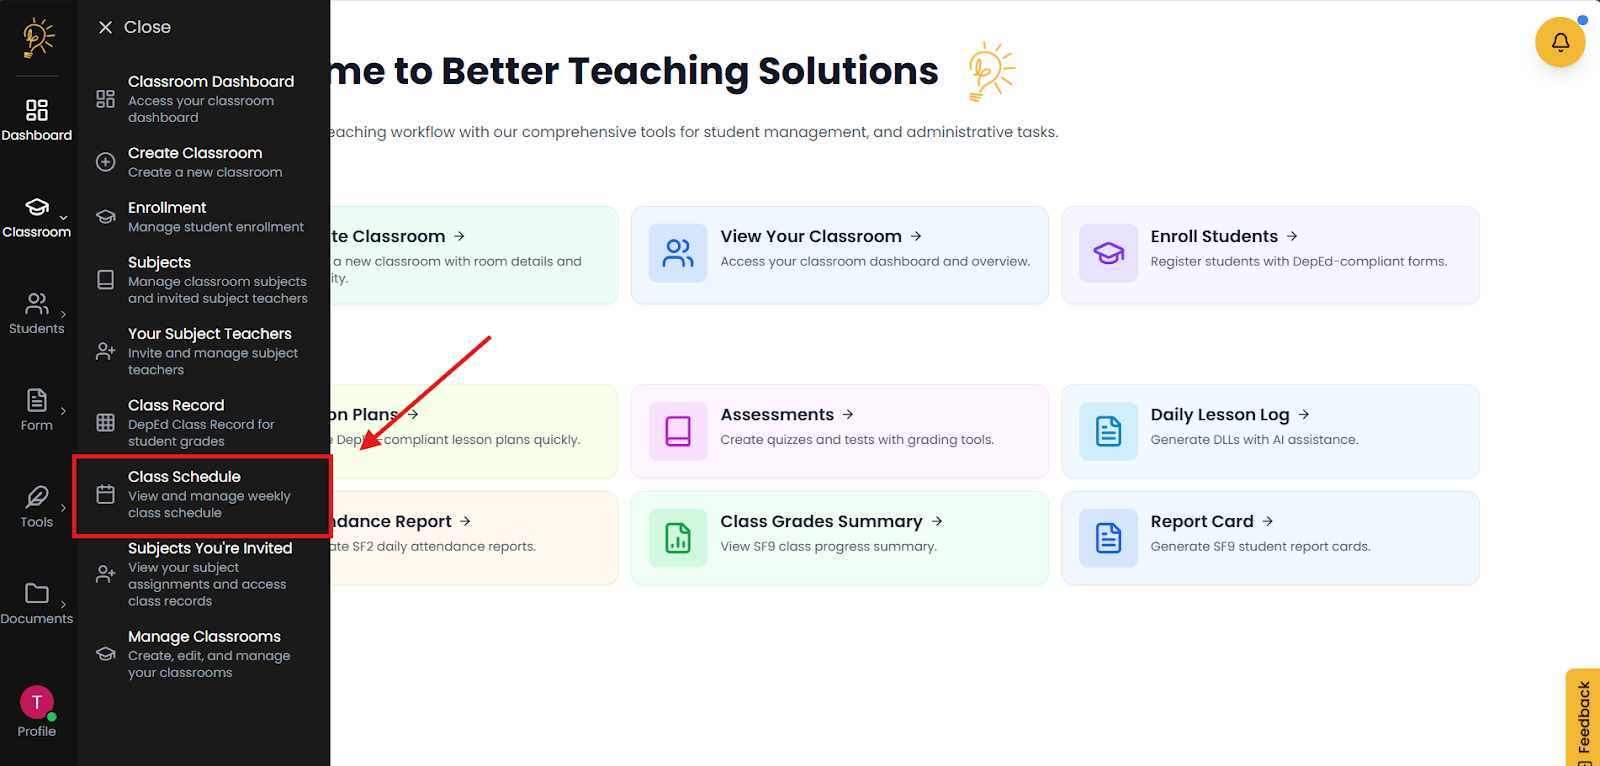
From the Dashboard, click the Classroom button located on the left side of the screen. Select Class Schedule from the menu to view and manage your subjects.
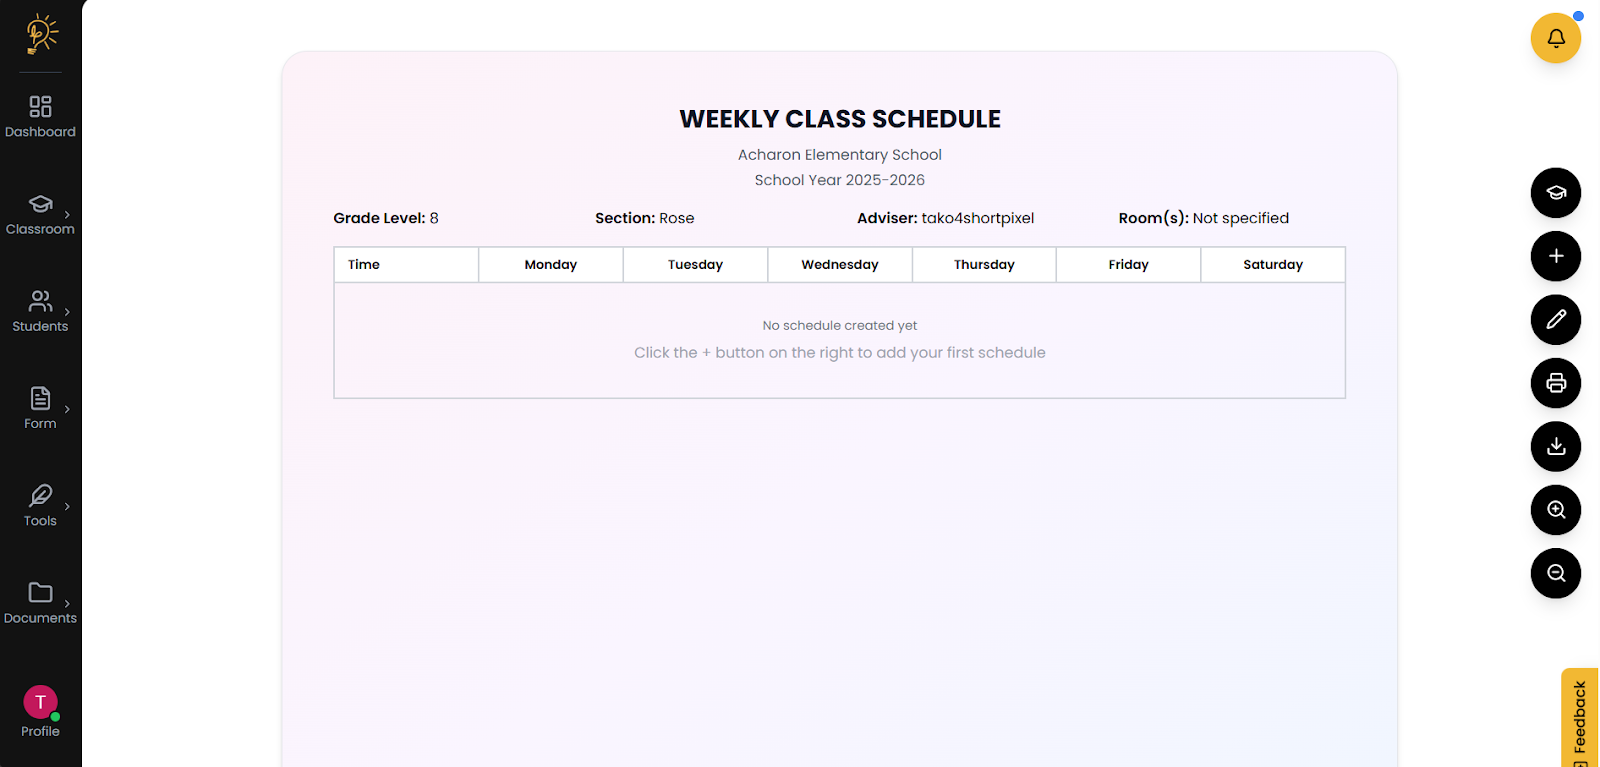
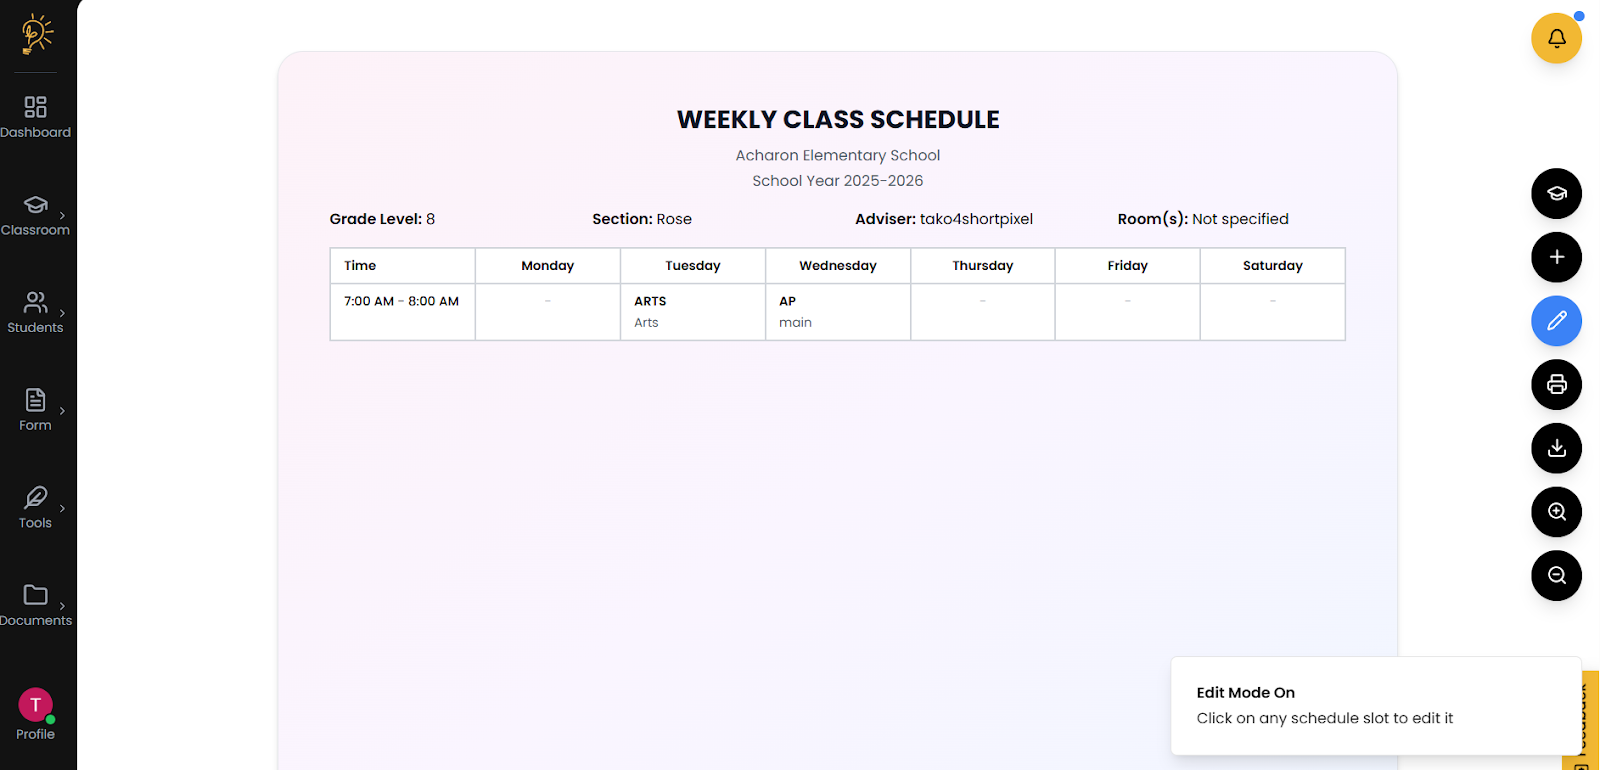
Weekly class schedule builder
The weekly schedule displays your classes and subjects assigned for the current week.
Step 1 - Classroom switching
Manage weekly schedules across classrooms without repeating setup.
Before you begin assigning or managing your schedules, please ensure that you have already created a classroom. If you have not yet set up a classroom, please refer to our [ Link to Classroom Management & Creation Tutorial ] for step-by-step instructions on how to get started.
- On the Weekly Schedule Page, find the 🎓 Graduation Cap icon (right side).
- Click the 🎓 icon to open classroom switching
- Select the classroom you want to manage.
- Confirm you’re in the right classroom by checking the displayed classroom name.
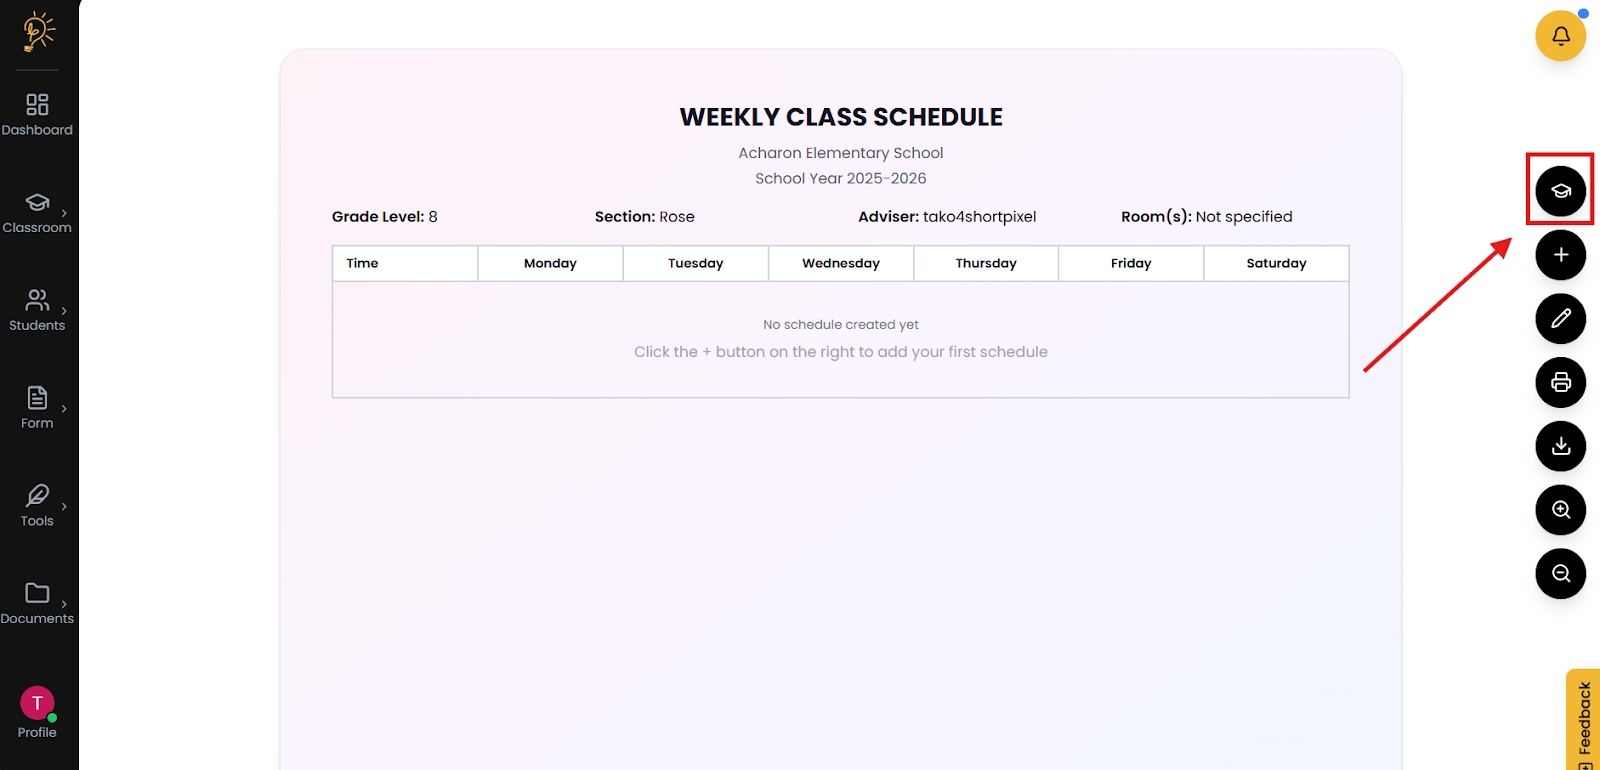 The classroom change button is located on the top right.
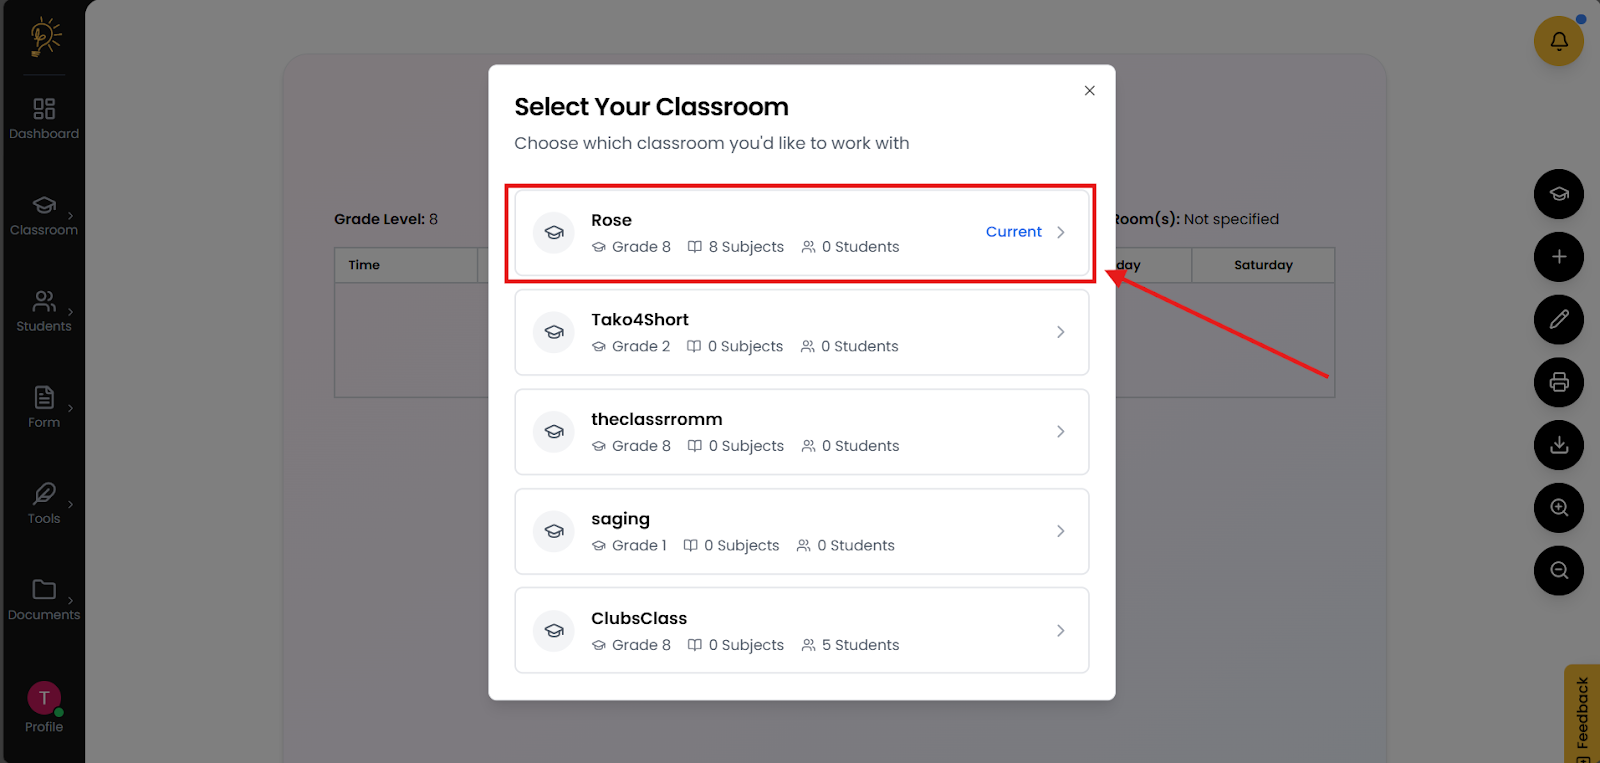
“Current” indicates the current classroom selected.
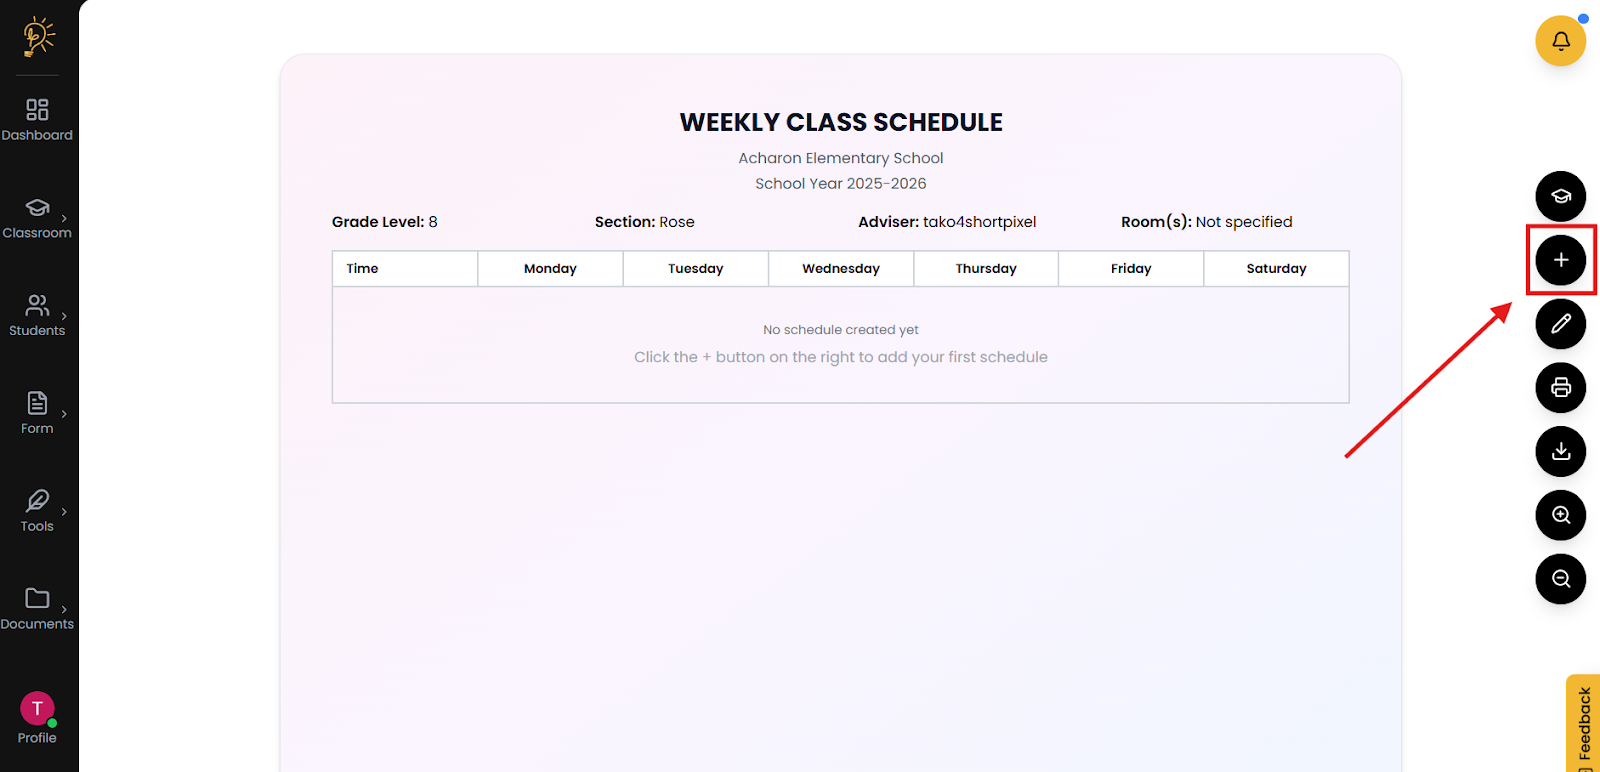
Step 2 - Add your schedules
- On the Subject List Page, look at the right side of the screen.
- Click the ➕ Plus (+) button
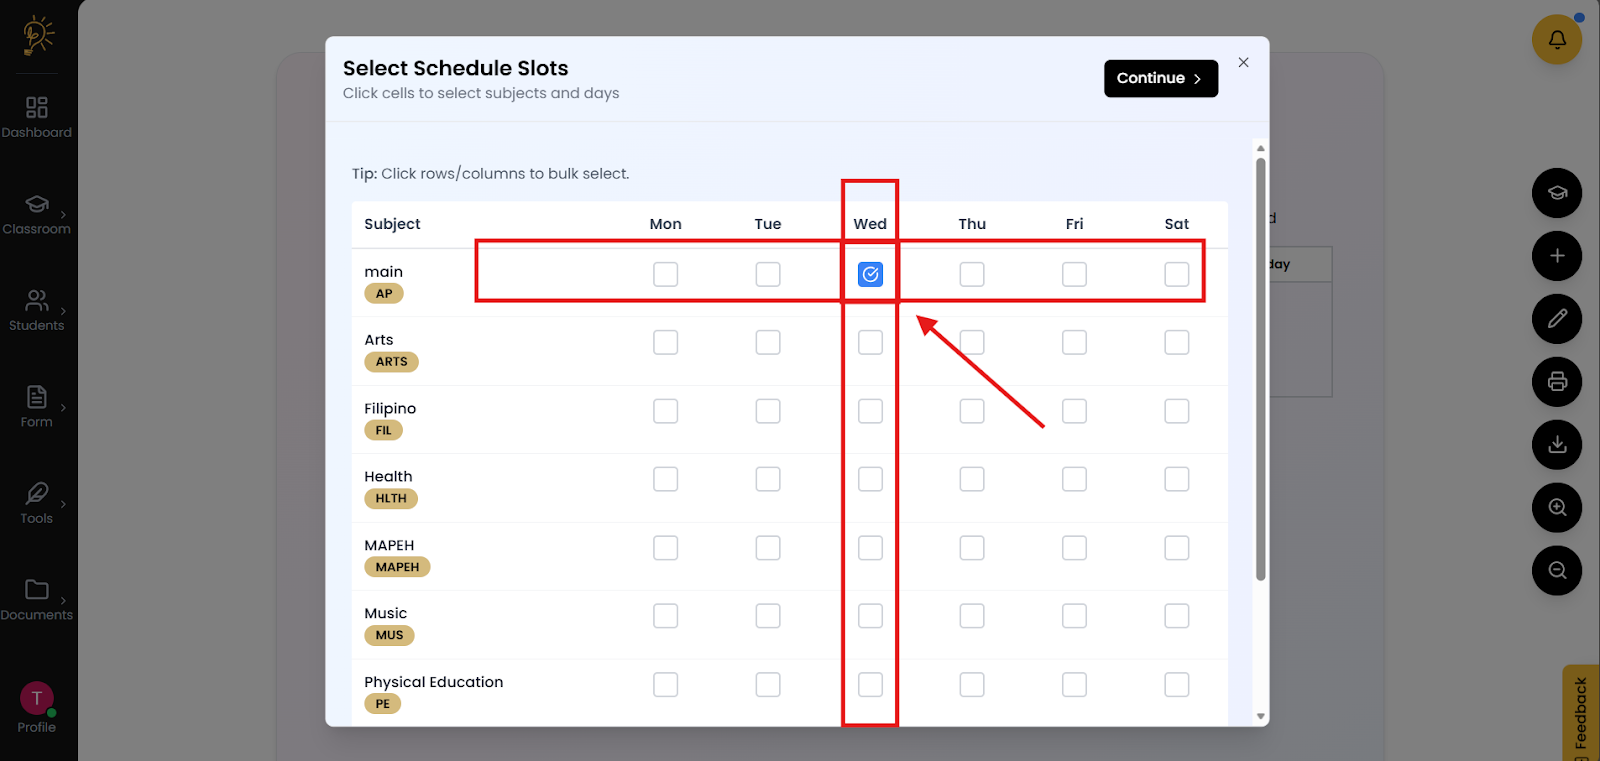
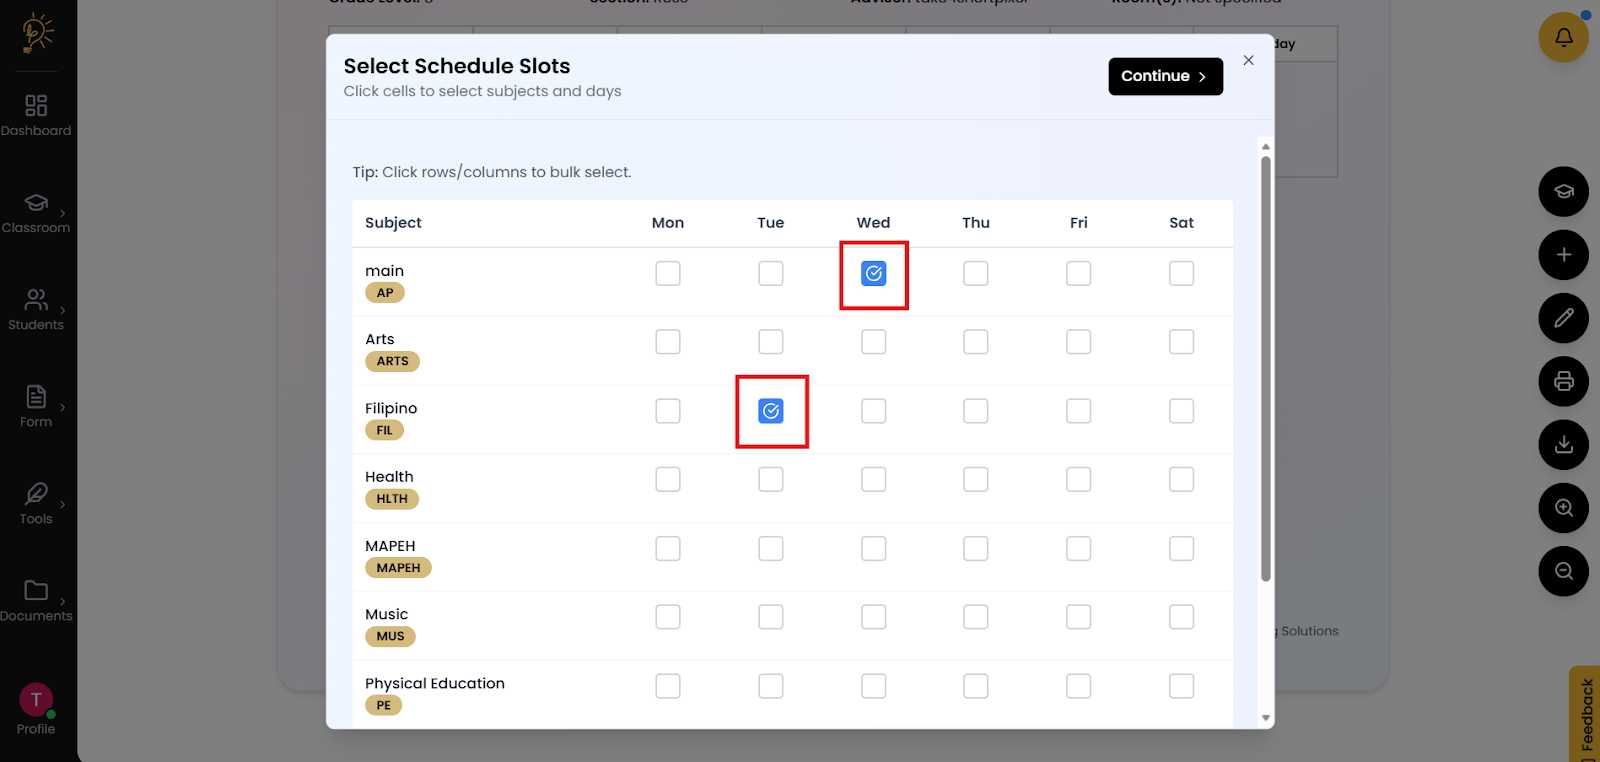
- This will bring you to the select schedule slot screen.
- Check ( ✅ ) the corresponding day that you would like to add a specific subject to.
- Repeat step 4 if you would like to add multiple subjects on different days.
- Press continue when done located on the top right.
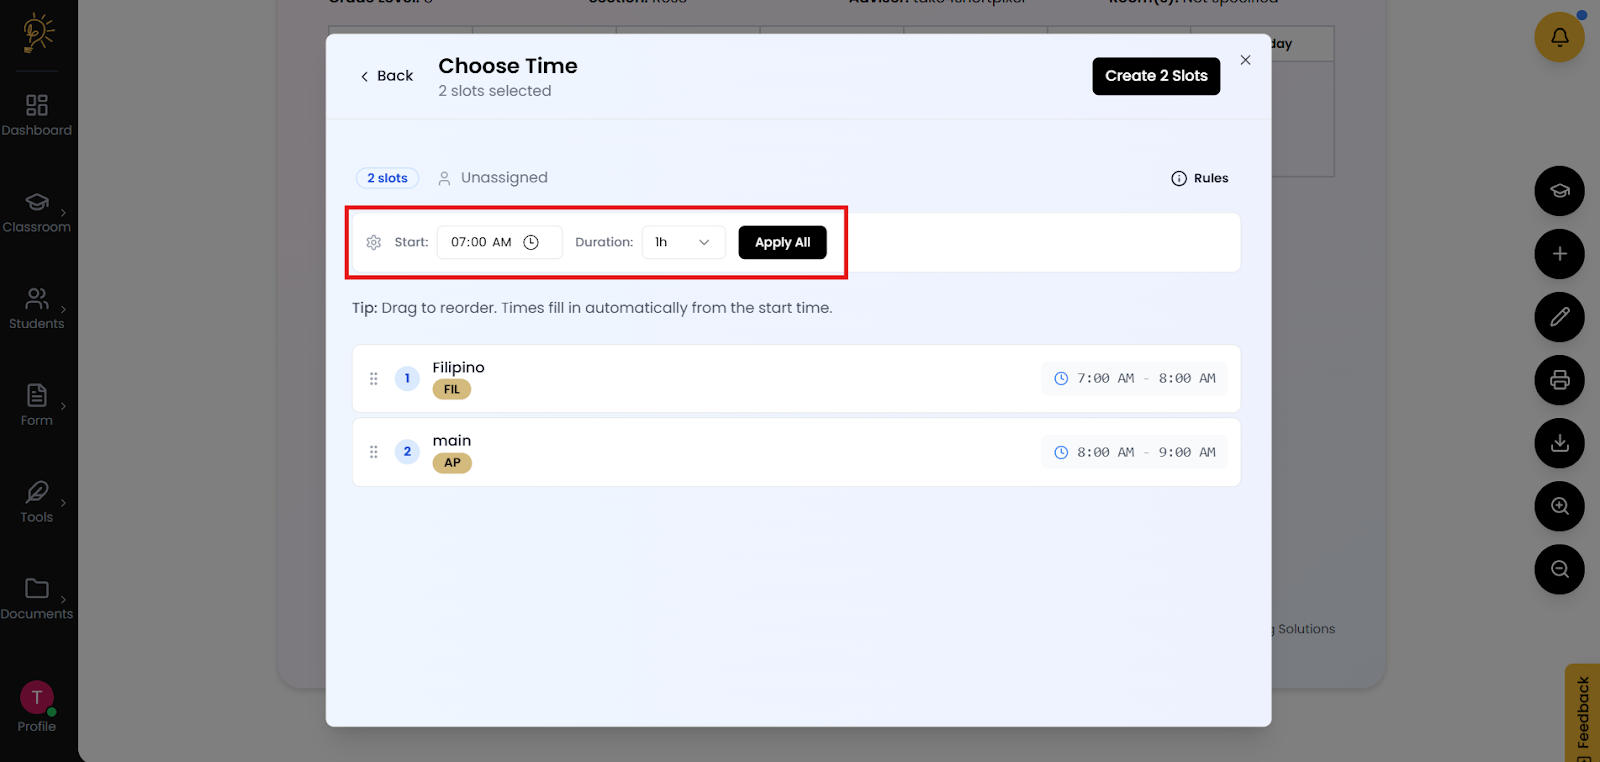
Step 3 - Set schedules time
- Set the starting time of the subjects you have selected, this will change the starting time the subjects will increment from.
- Set the duration of each subject, this will increment on how many hours each subject will take.
- Click apply all to apply the subject starting time and subject durations.
- Set the subject arrangement and sequences
Note: Subject schedules can be rearranged through the drag and drop component on the left, indicated with the “::” symbol.
- Check the time and arrangements of dates.
- Check if dates follow proper rules for scheduling. Press the ( i ) Rules button, located in the top right.
- Click “Create No. Slots” button located on the top right of the screen when done.
Set the start time on the left and the duration on right.
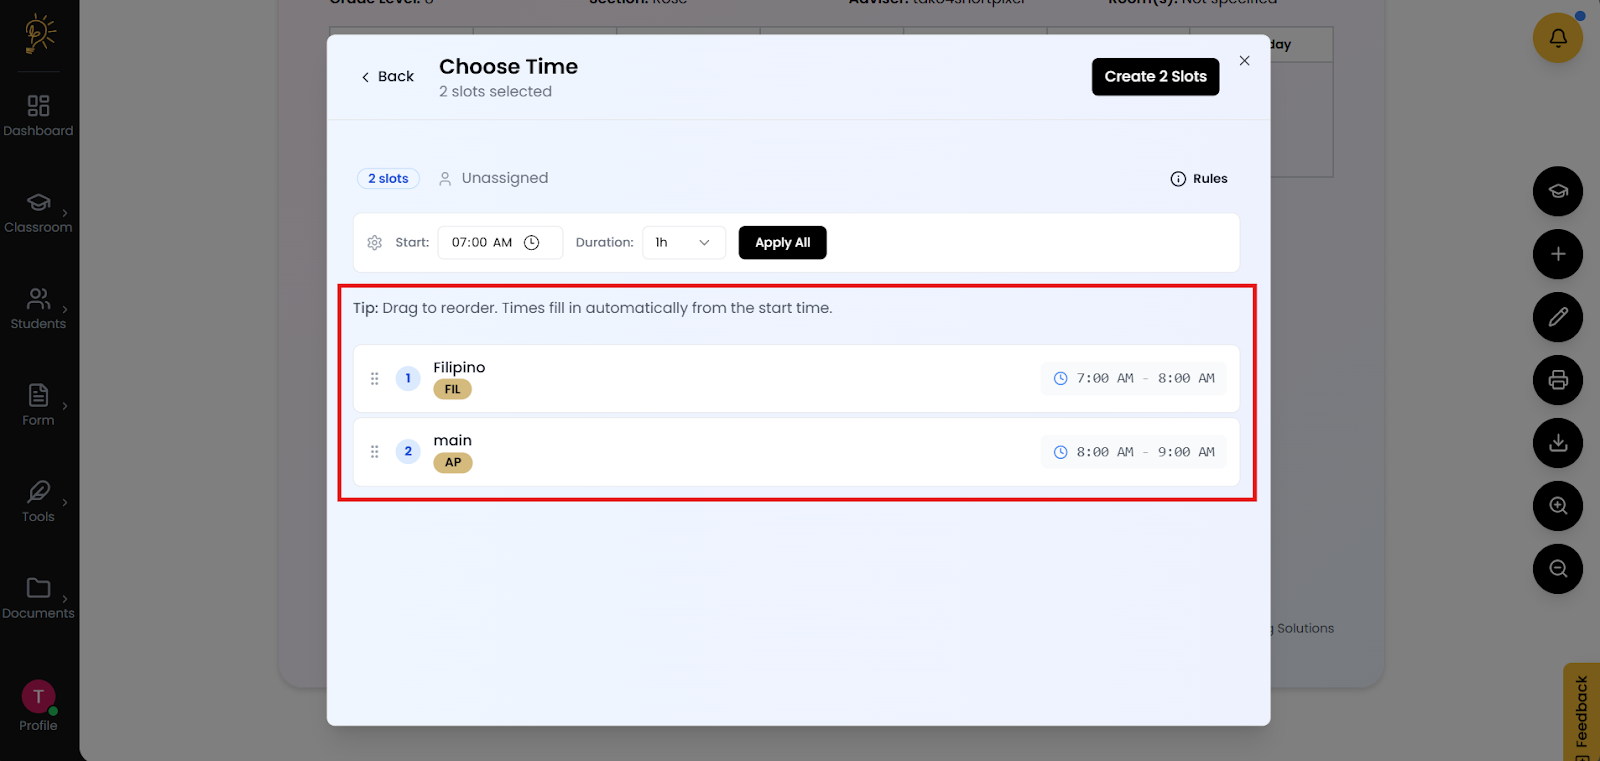
Drag to reorder. Times fill in automatically from the start time.
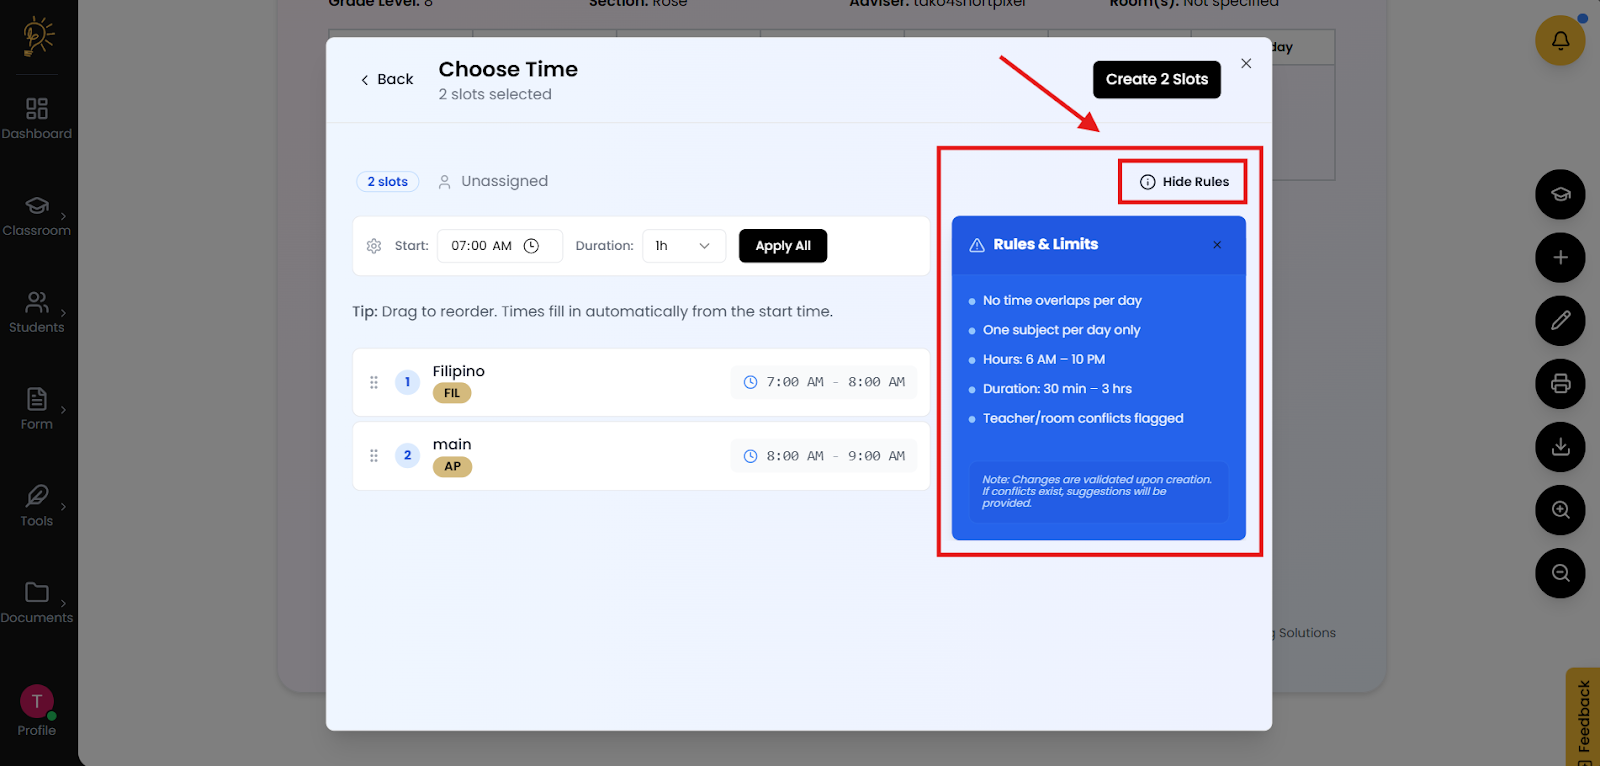
Rules are located on the right side indicated with the “( i )” Symbol.
Convenient Schedule Editor
Step - 1 Choose a schedule subject to edit
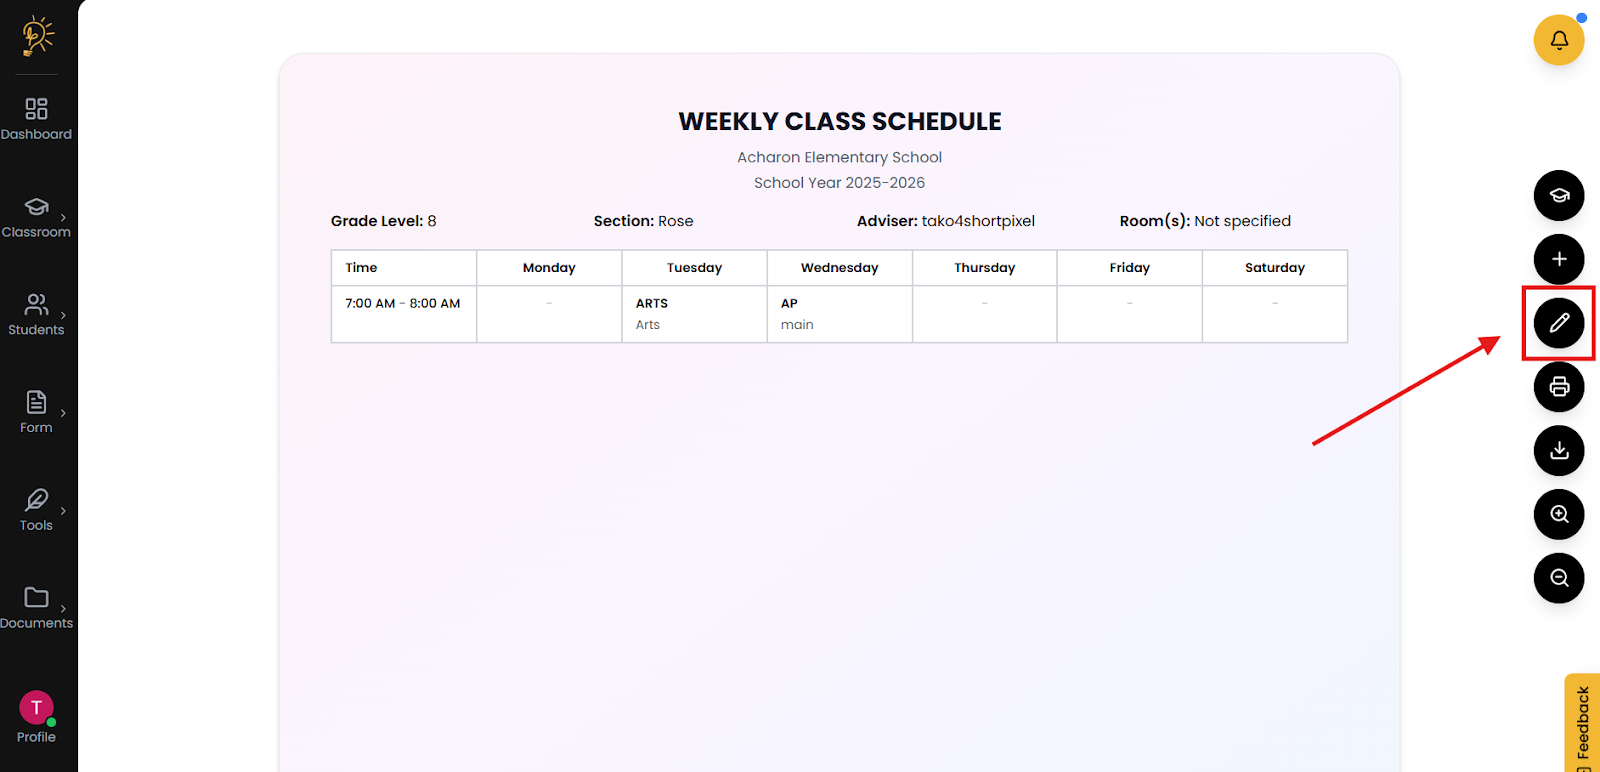
Once a schedule has been set, it can be edited via the edit schedule button
.
- On the Subject List Page, look at the right side of the screen.
- Click the ✏️ Pencil icon button
- This will set you to edit mode
- In edit mode,Click any subject directly on the list of scheduled subjects.
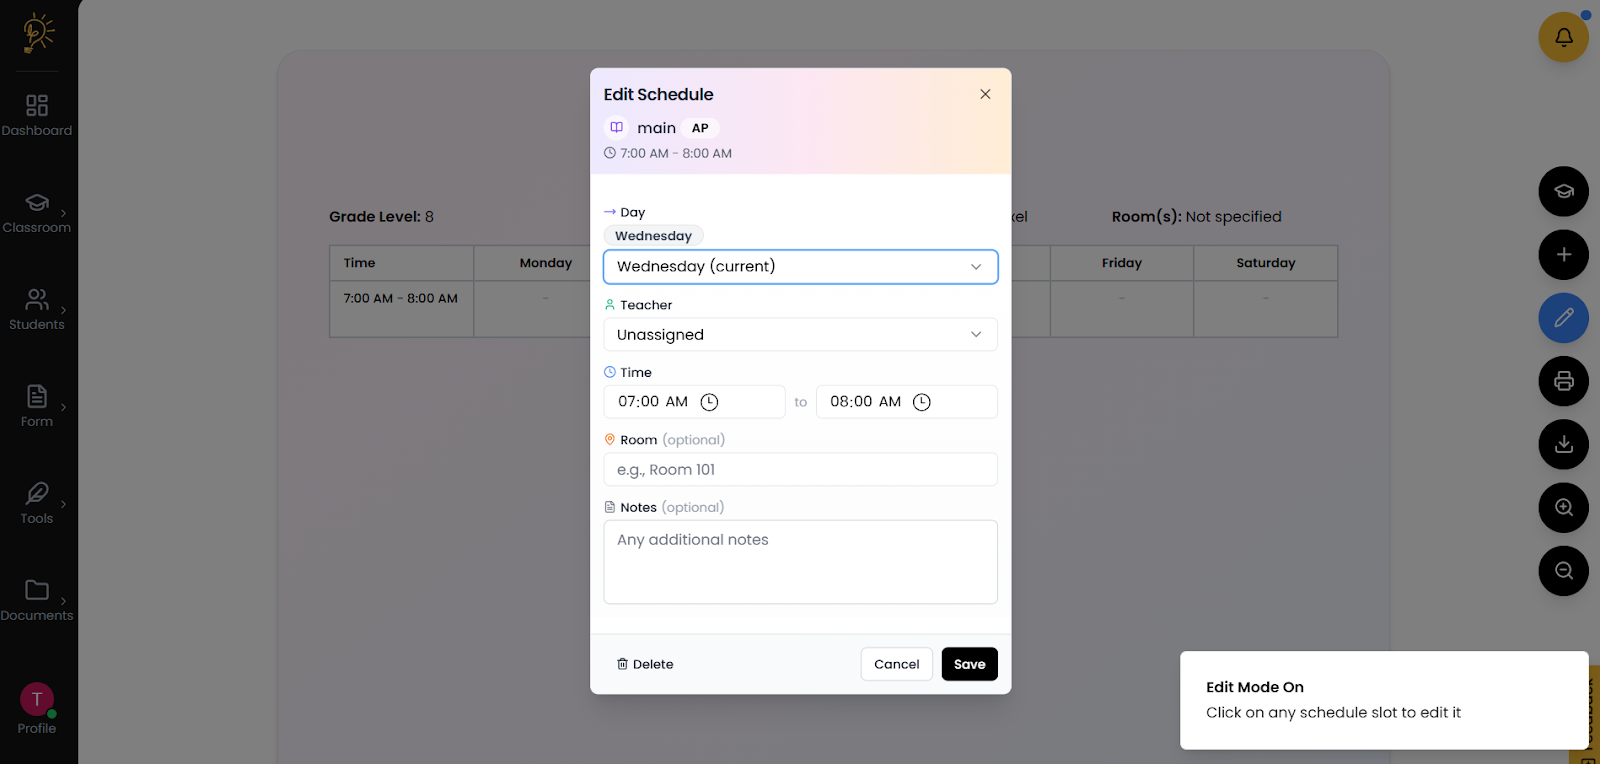
Step 2 - Edit your scheduled subject
- Change any component of the chosen subject via drop boxes or input text
- Click save on the bottom right corner of the page.
Things that can be changed when editing a subject's schedule
- Changed the date the subject is to be scheduled
- Changed the assigned teacher for the subject
- Change the time of when the subject is set to
- Change the room the subject is set to
- Deleted the subject entirely from the list
Ready to Print Schedules
Once done with adding subjects and schedules it is ready to print.
- On the Weekly Schedule Page, find the 🖨️printer icon (right side)
- This will bring up the print layout screen
- Once done with customizing your layout click print to print out your schedule
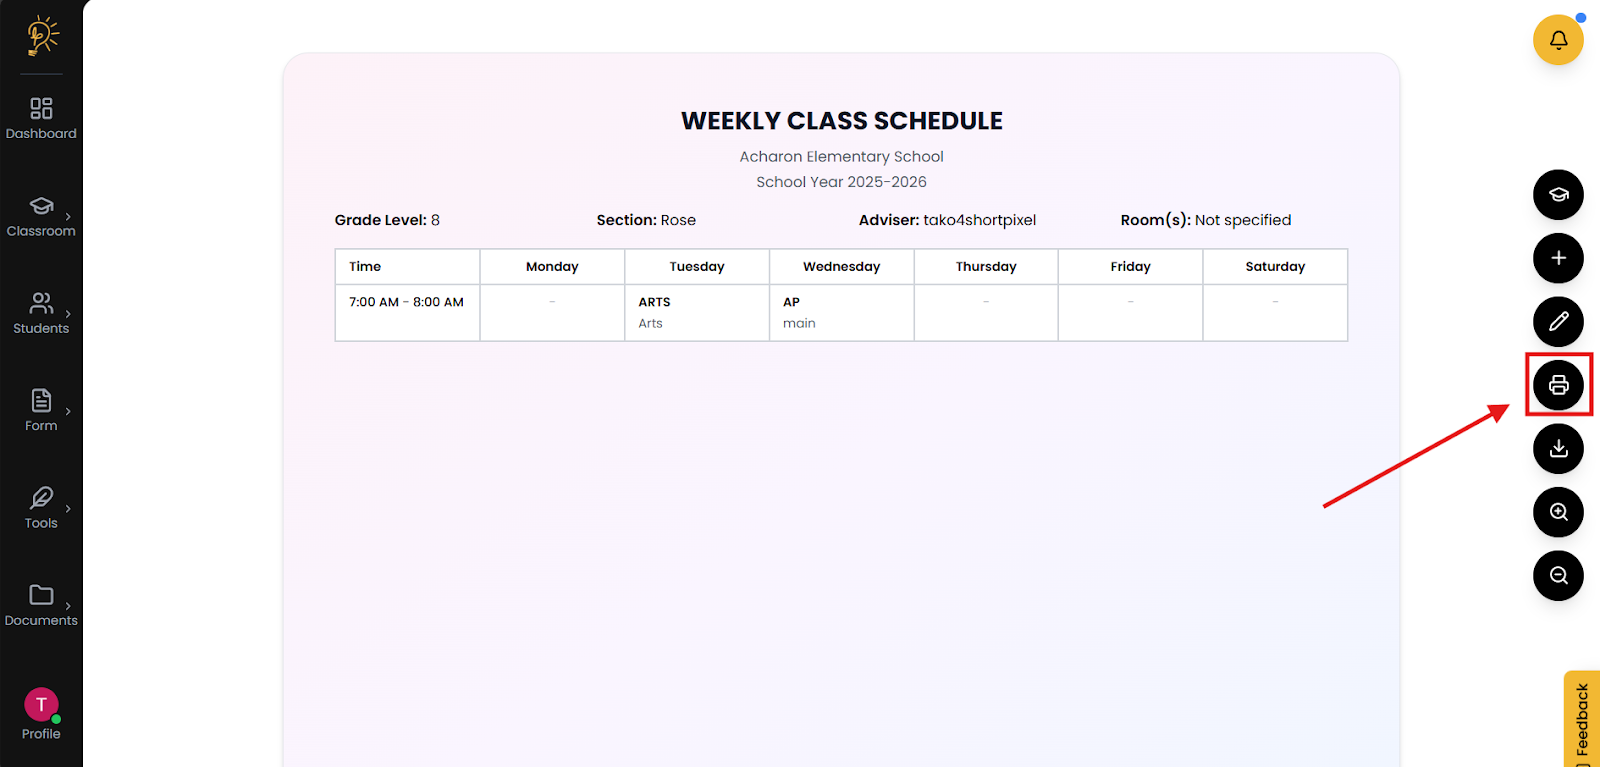
The print schedule is located on the right side of the screen
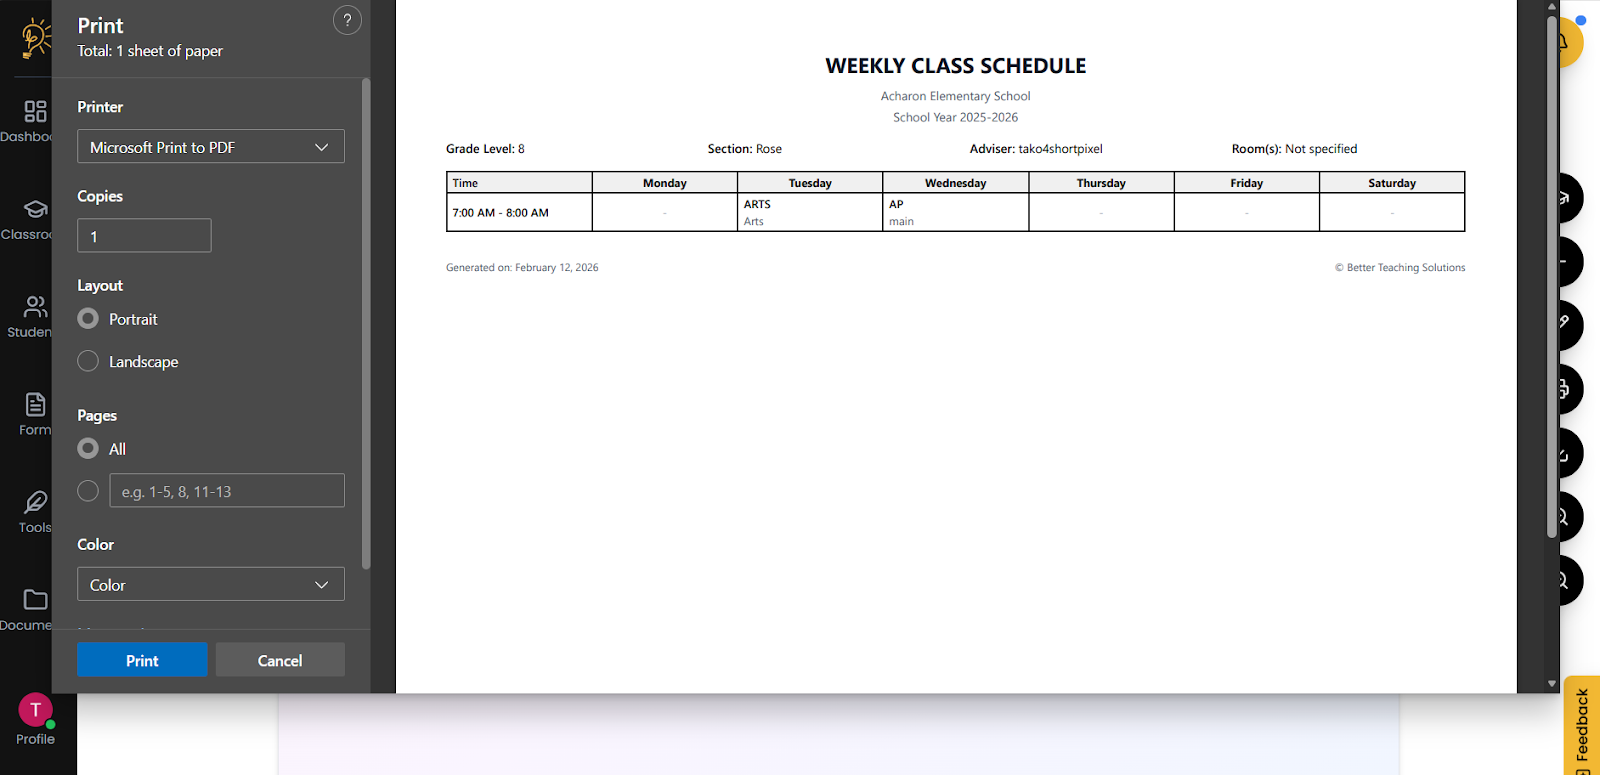
The print layout screen is the default print layout screen for windows and has similar properties to it.
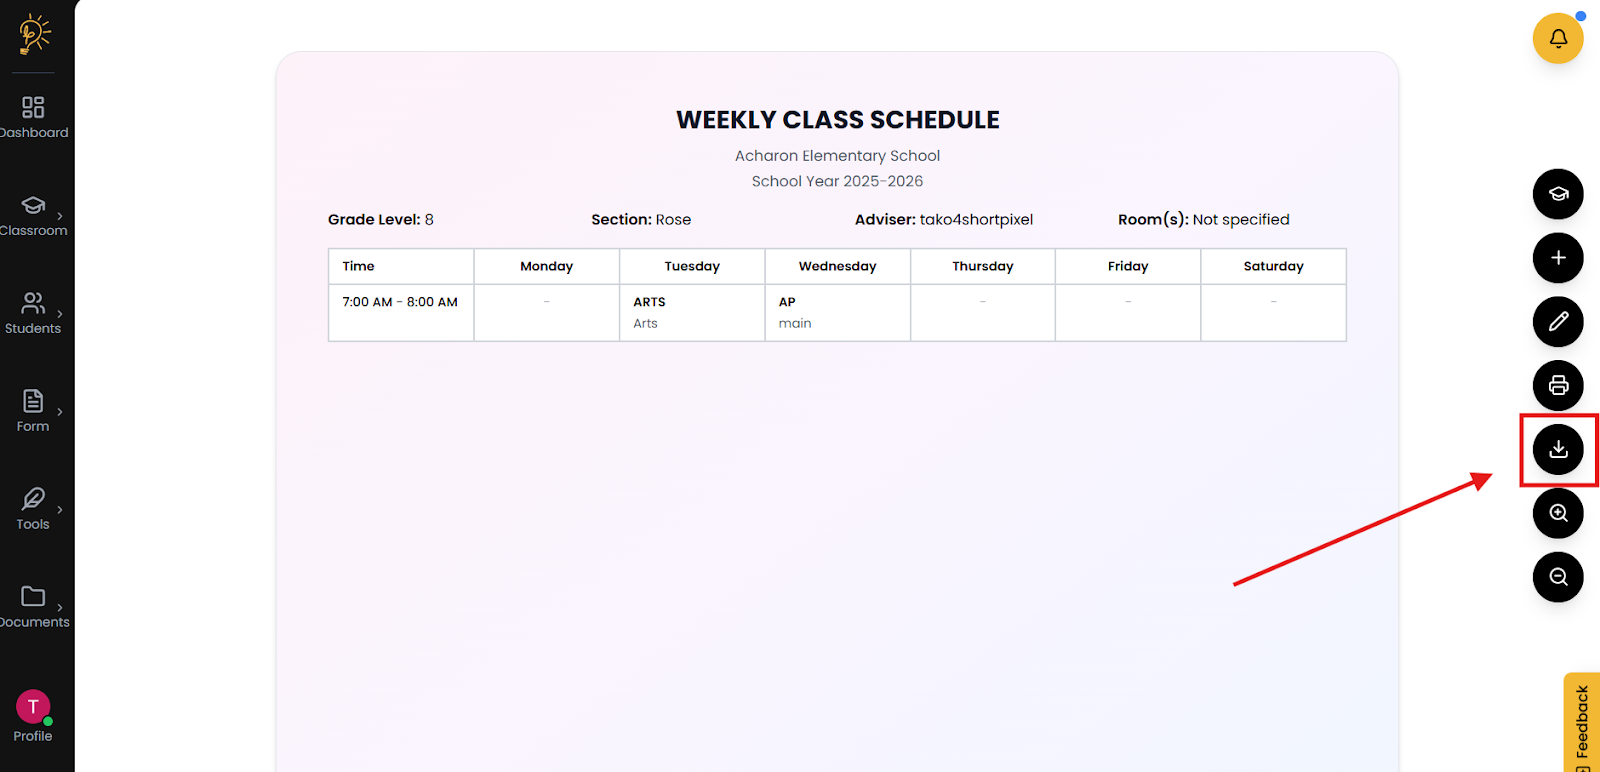
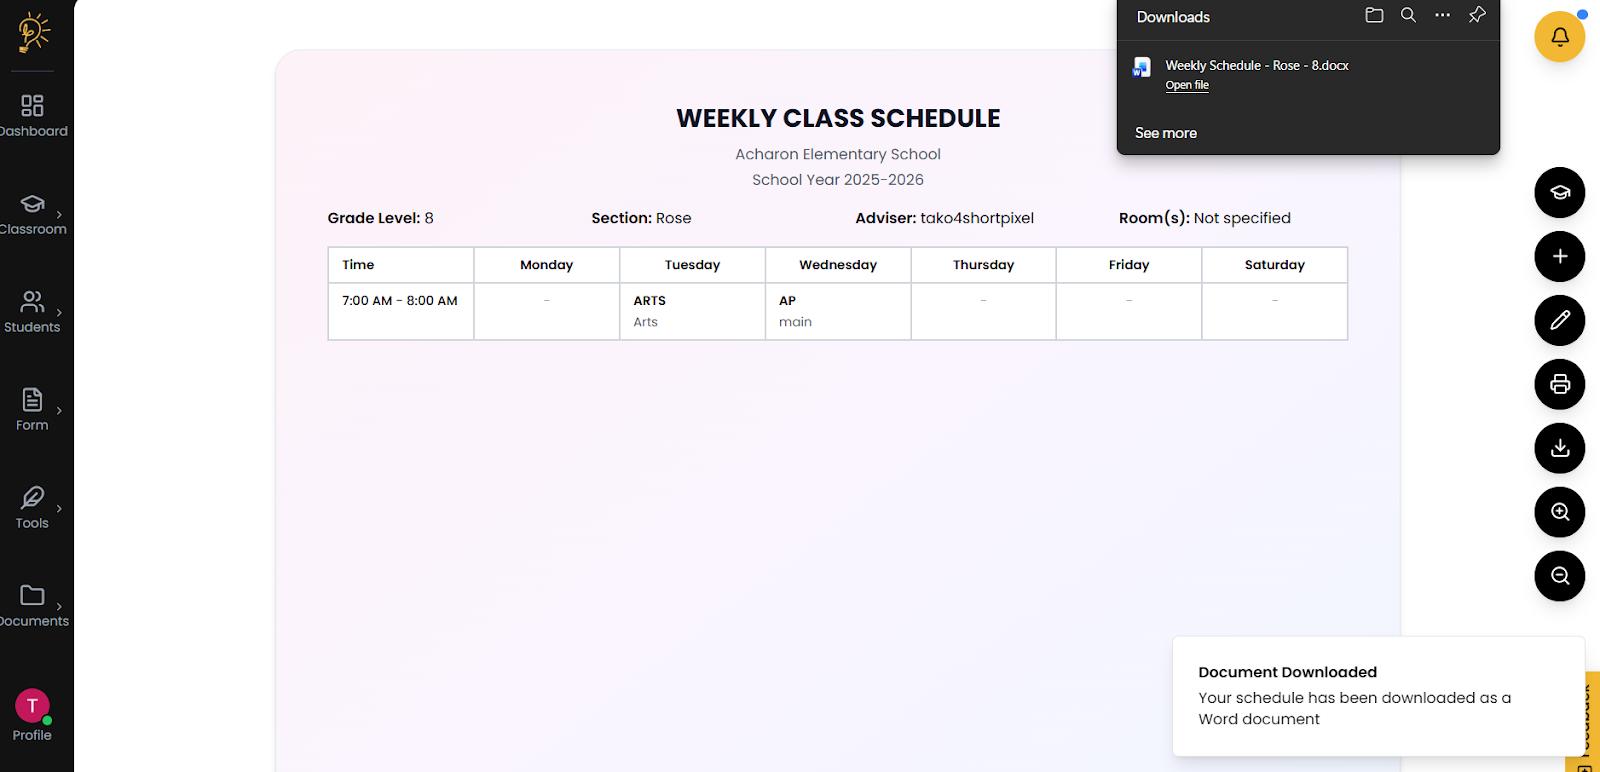
Export to word
The weekly class schedule can be saved digitally through downloading it as a document file.
- On the Weekly Schedule Page, find the
 download icon (right side)
 - This will automatically download your weekly class schedule
Author
Better Teaching Solutions
Making teaching easier, giving more time for our hard working teachers!