How to use the Lesson Plan Generator in Better Teaching Solutions (BTS)?
Use the Lesson Plan Generator in Better Teaching Solutions (BTS) to create DepEd‑aligned Daily Lesson Plans (DLPs) with AI-powered templates, then refine and export them in minutes instead of drafting everything manually.
Core Features
- Centralized lesson plan workspace – Generate and manage lesson plans in one structured interface
- Curriculum alignment system – Automatically matches Content Standards, Performance Standards, and Learning Competencies
- Section-by-section AI generation – Builds the lesson plan in structured blocks
- Language detection – Automatically adjusts to the correct medium of instruction
- Editable structured output – Modify any section before saving or exporting
Where to Access the Lesson Plan Generator?
Here is the steps on navigating your way into the Lesson Plan Generator;
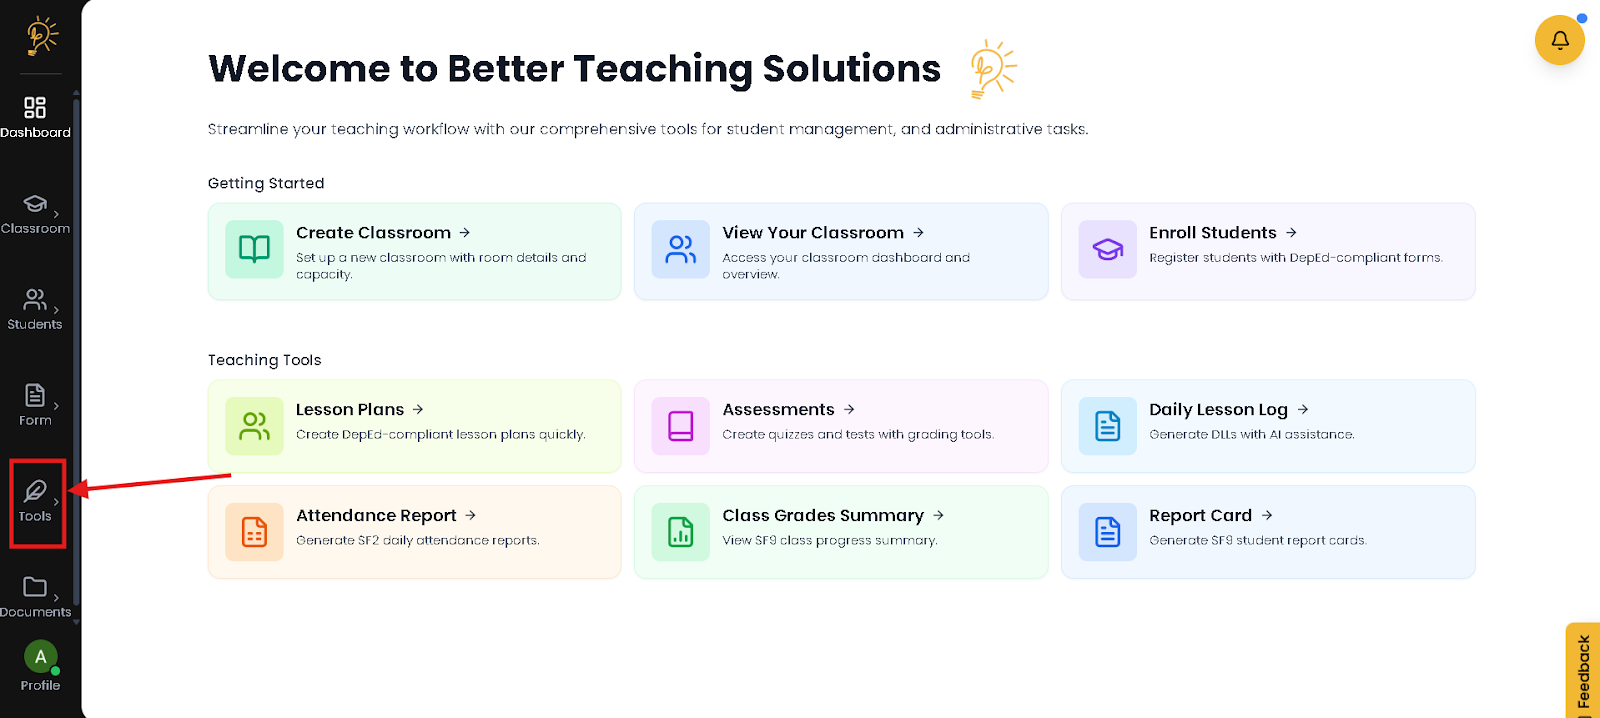
Navigate through the left side panel, click the Tools option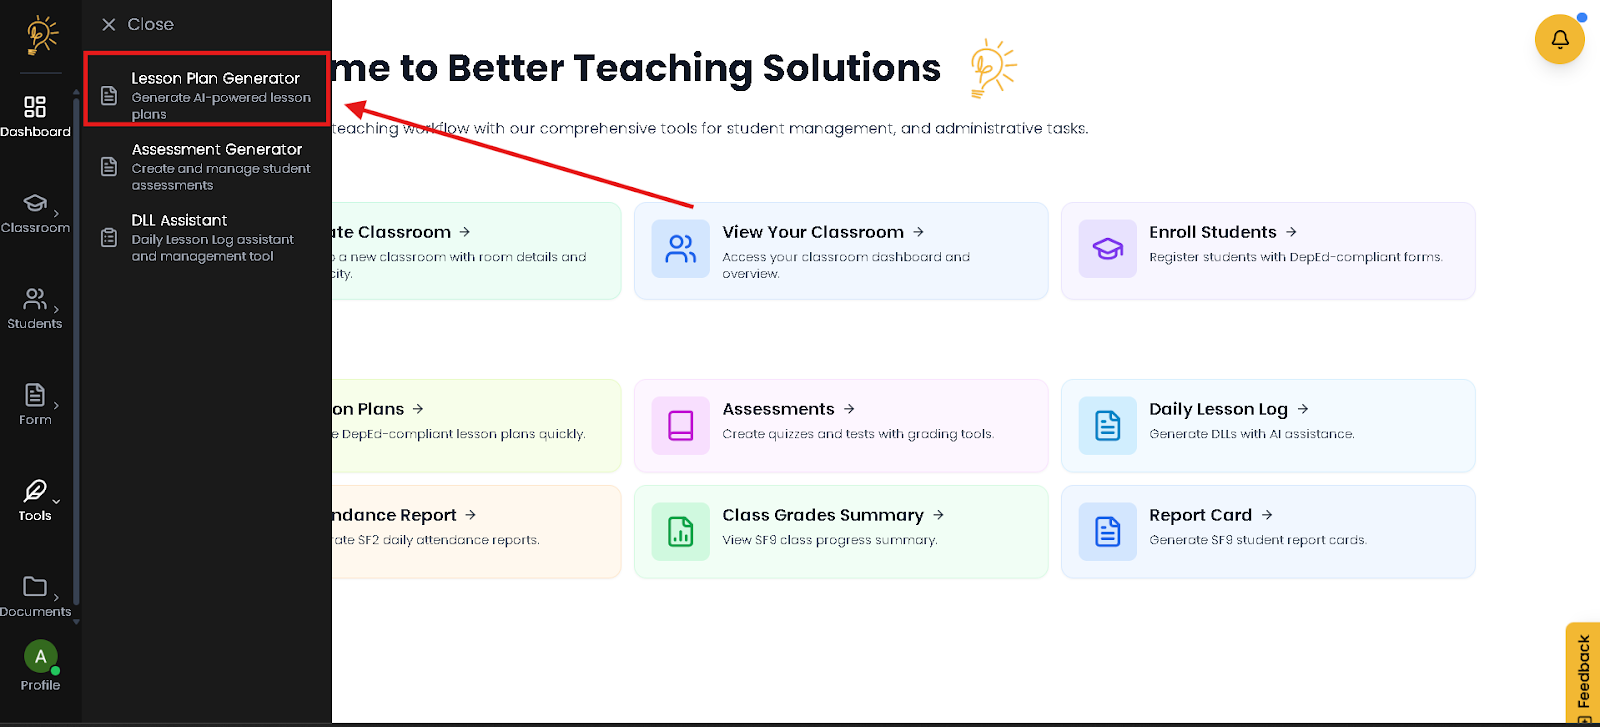
You should now see the different AI Tools, Click the Lesson Plan Generator
Wait for the LP workspace to load so you can begin creating your lesson plan.
Generating Your Lesson Plan
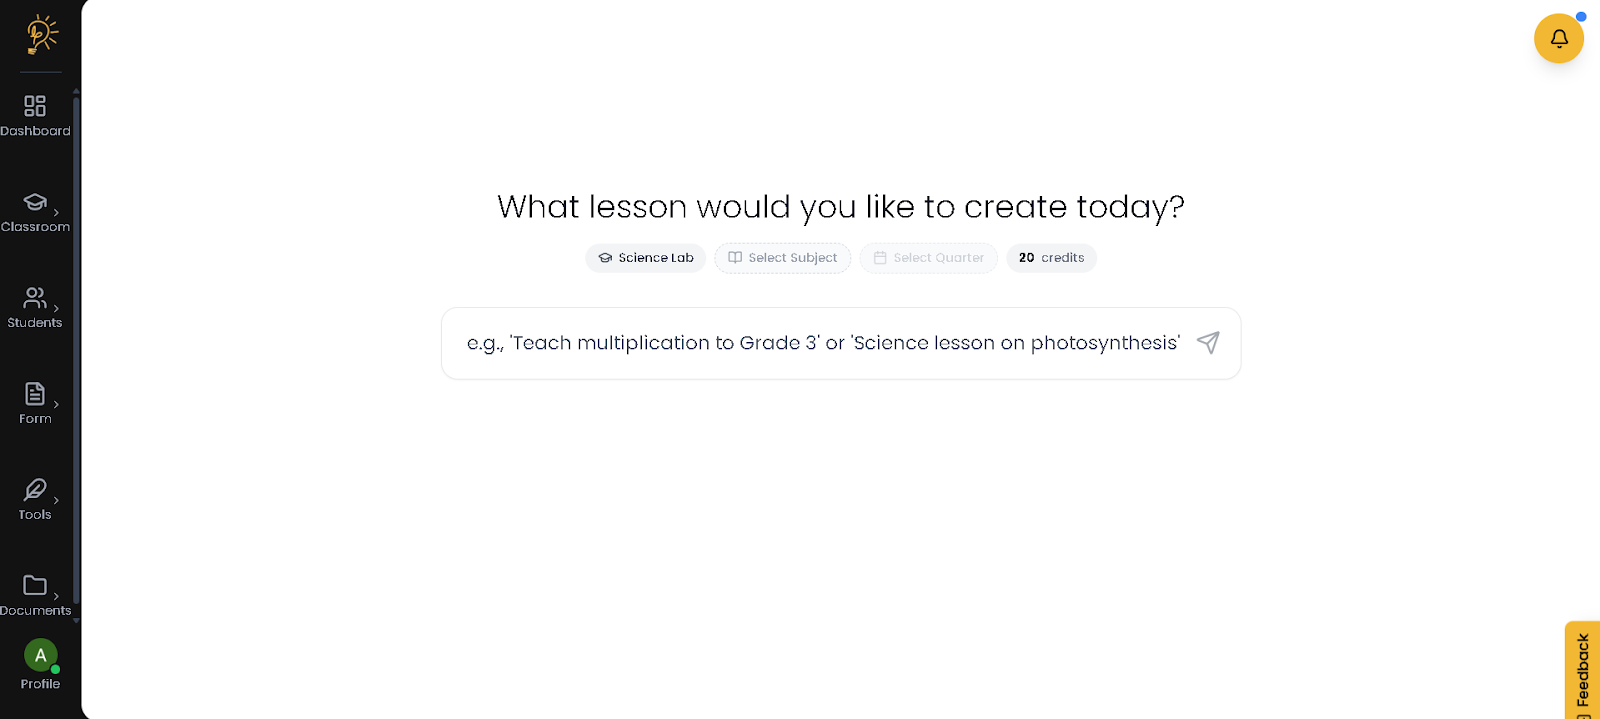
Step 1 – Enter Lesson Details
Before generating your lesson plan, ensure you have selected the correct subject and grade level.
On the Lesson Plan workspace:
- Select Subject.
- Select Grade Level.
- Click Select Quarter and choose the correct quarter.
- Enter your lesson topic using your own words.
- Click the Generate button.
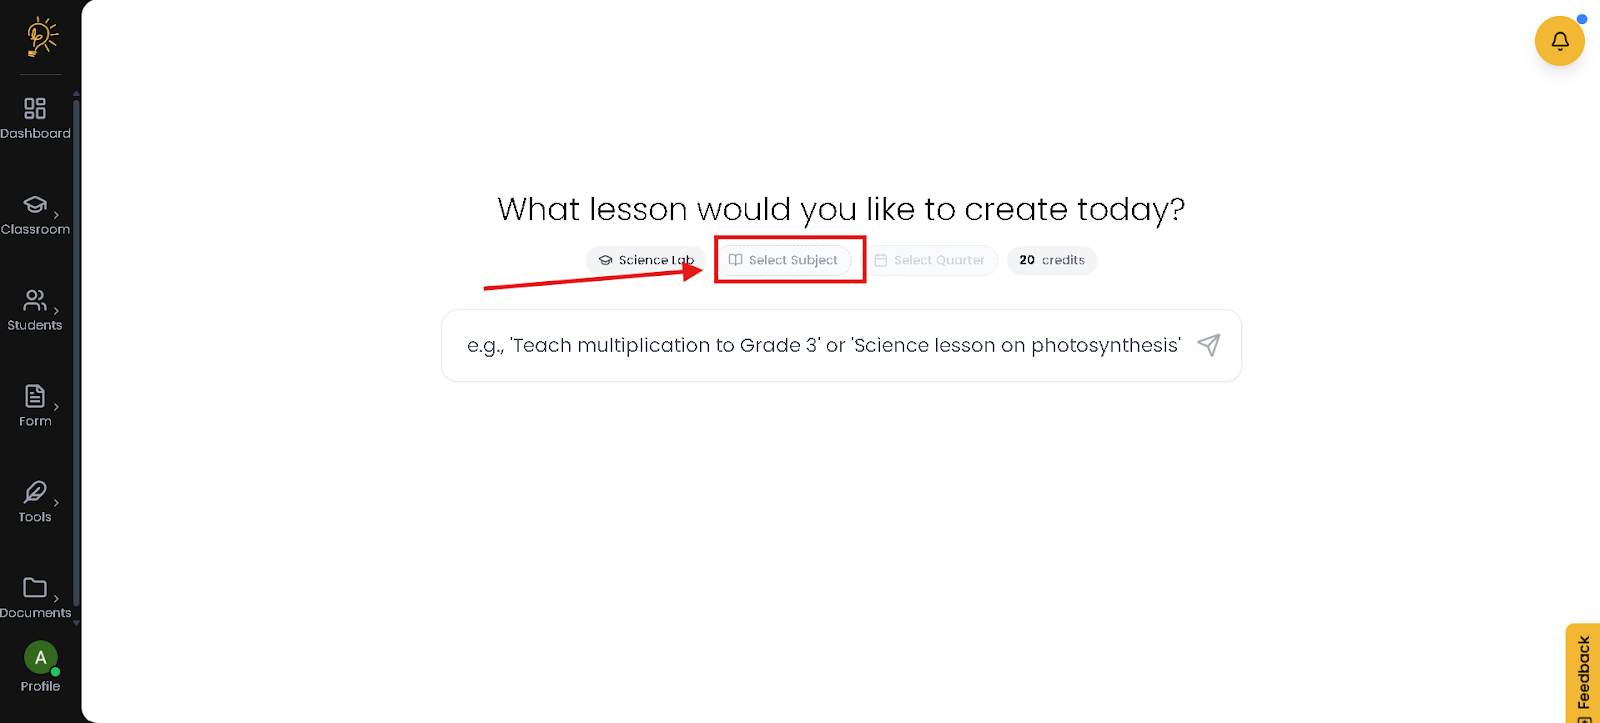
- This is where you Select your subject
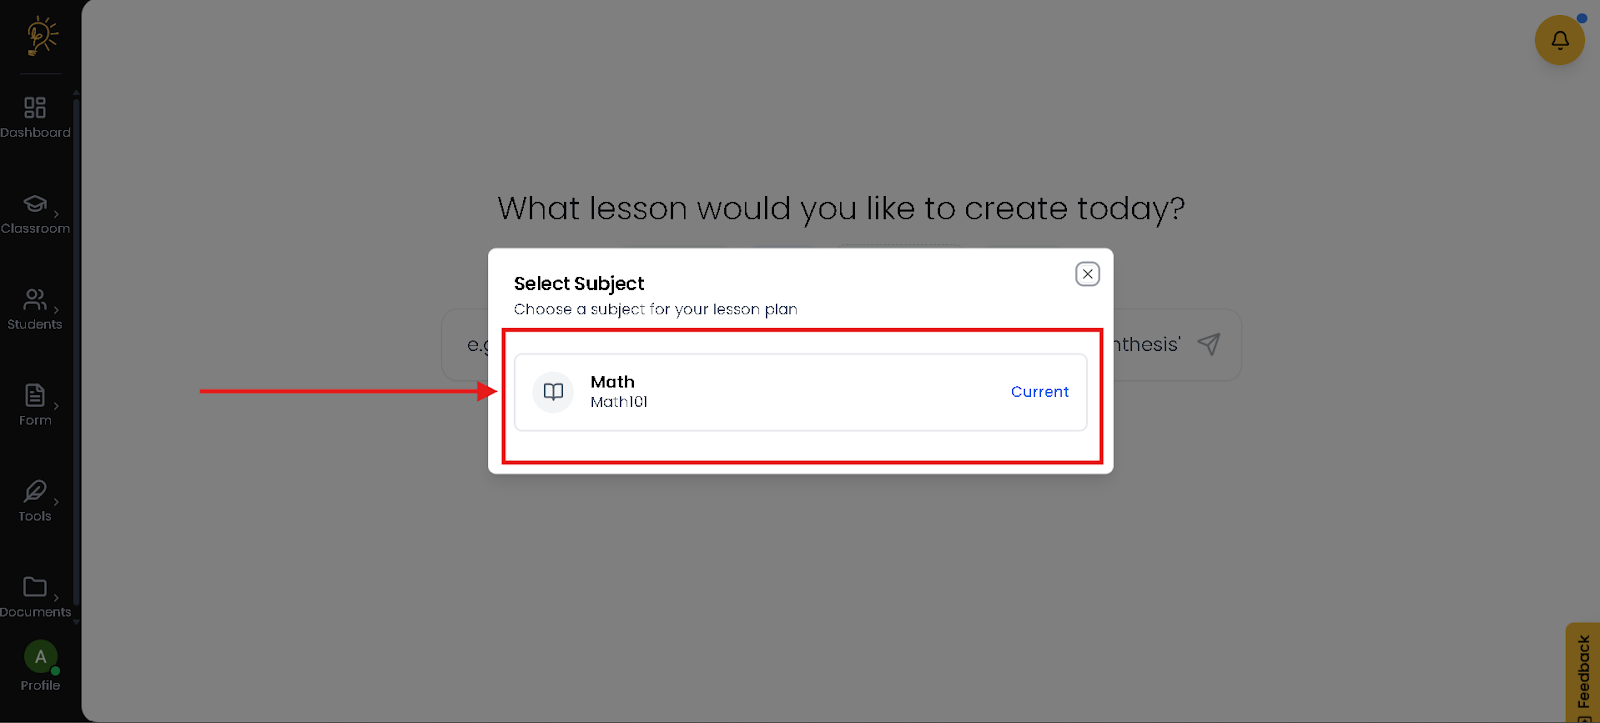
- Select one of your given subject
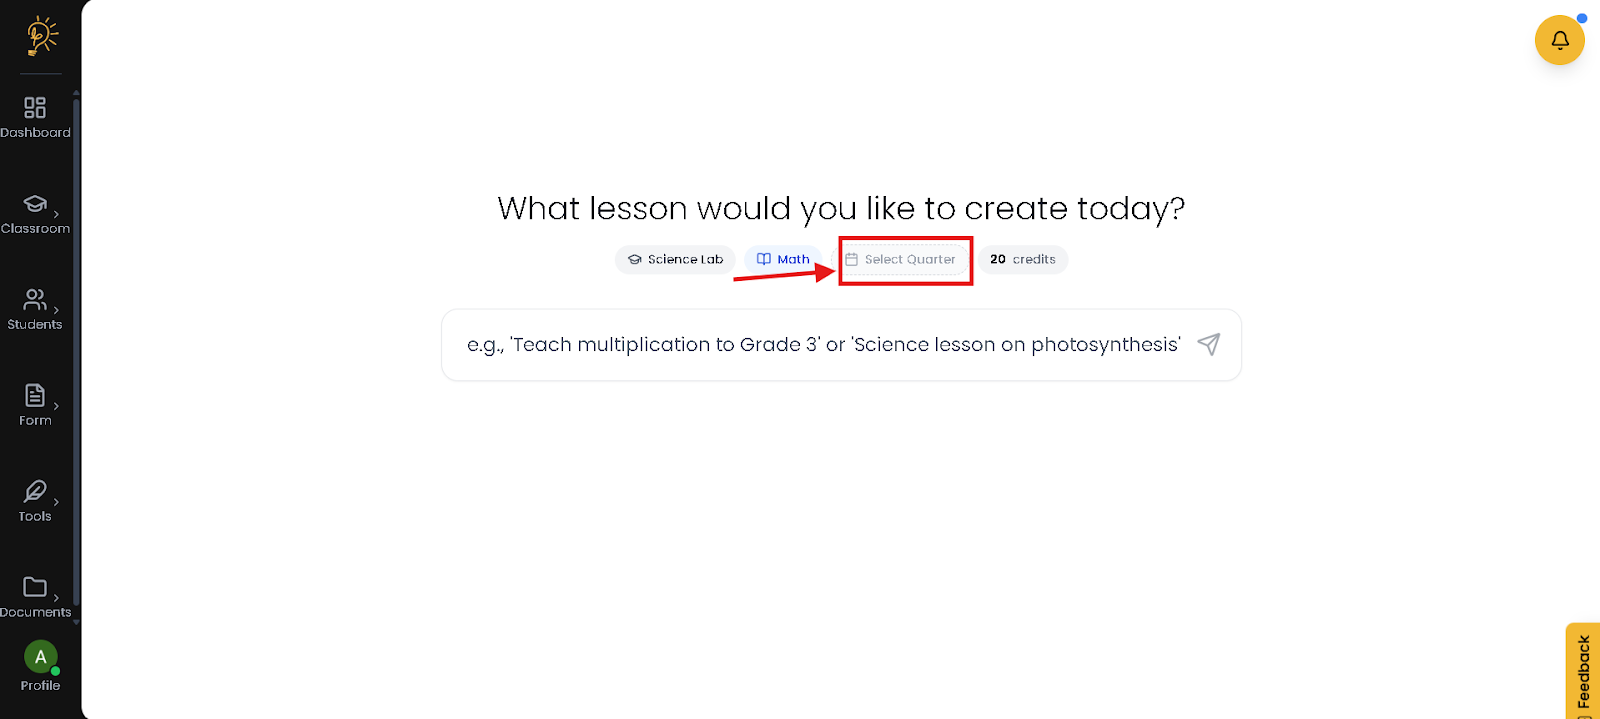
- Click the Select Quarter
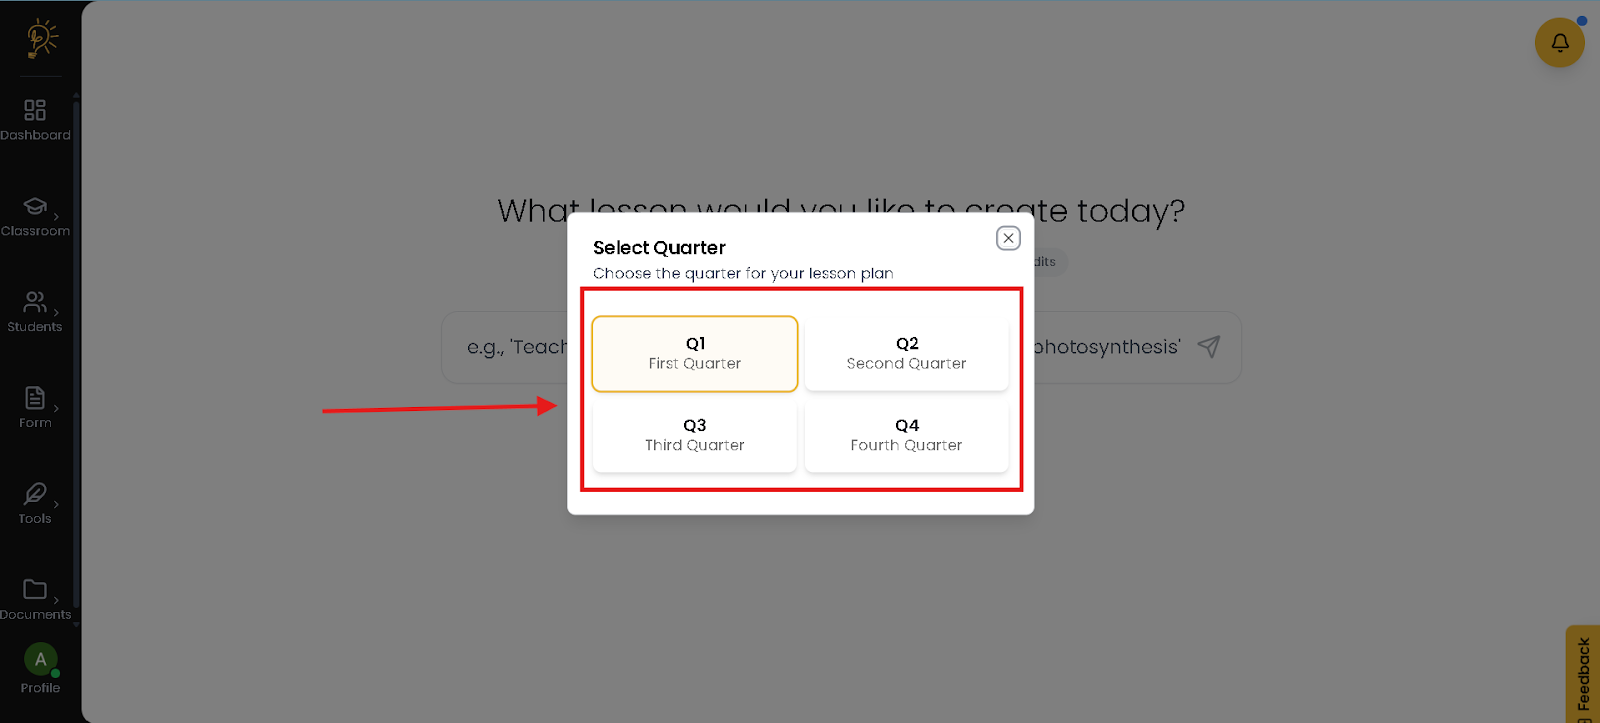
- Select the Quarter are you working on

- Enter your Lesson Plan’s idea using your own Words.
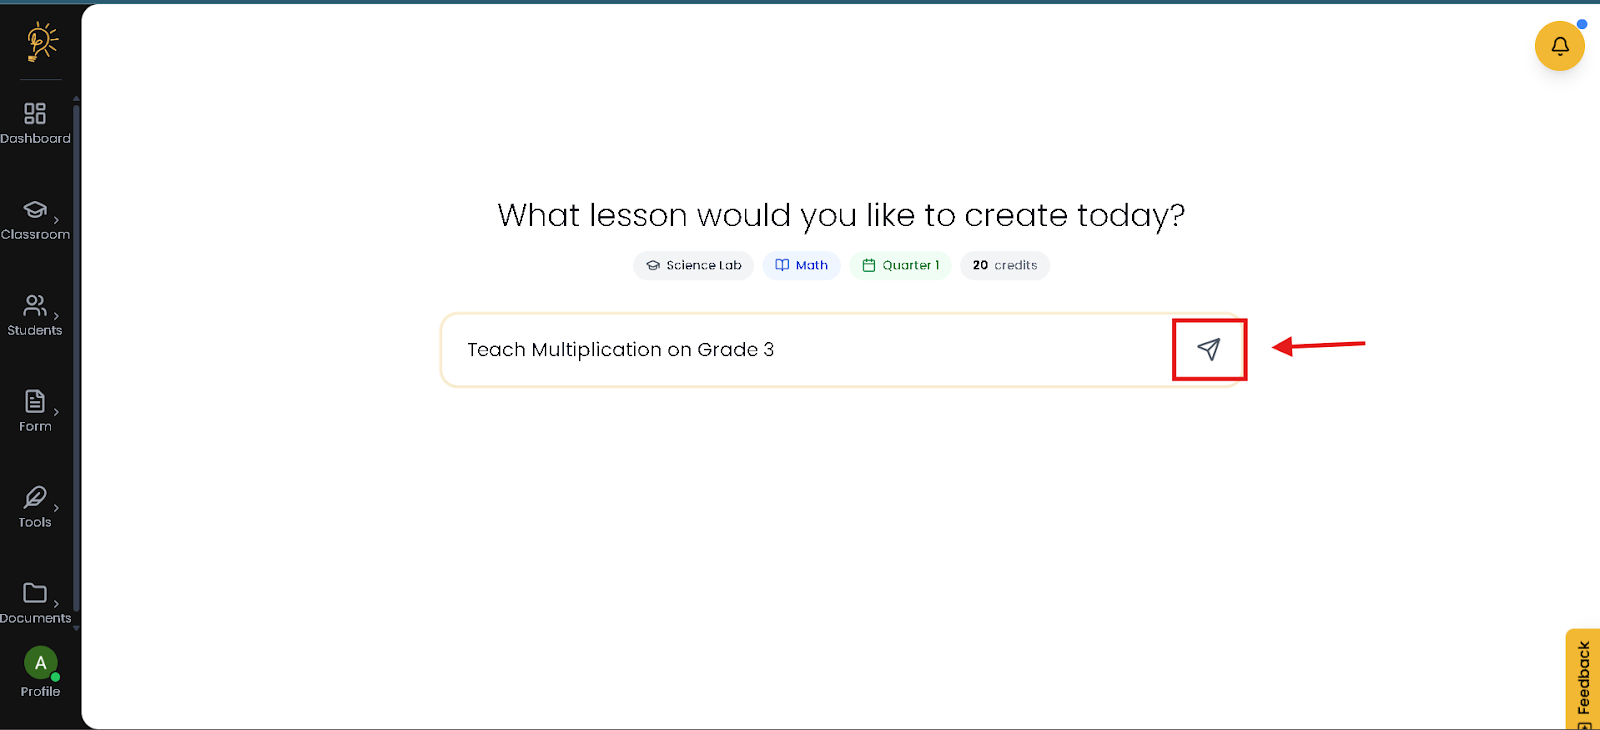
- Click the button to start generating.

- Wait for your Generated Lesson Plan
- Your Generated Lesson Plan is Ready!
How to Enable Editing on your Generated Lesson Plan?
Here is the step-by-step guide to finding, editing, and managing your saved lesson plans.
STEP 1. Finding Your Saved Lesson Plans
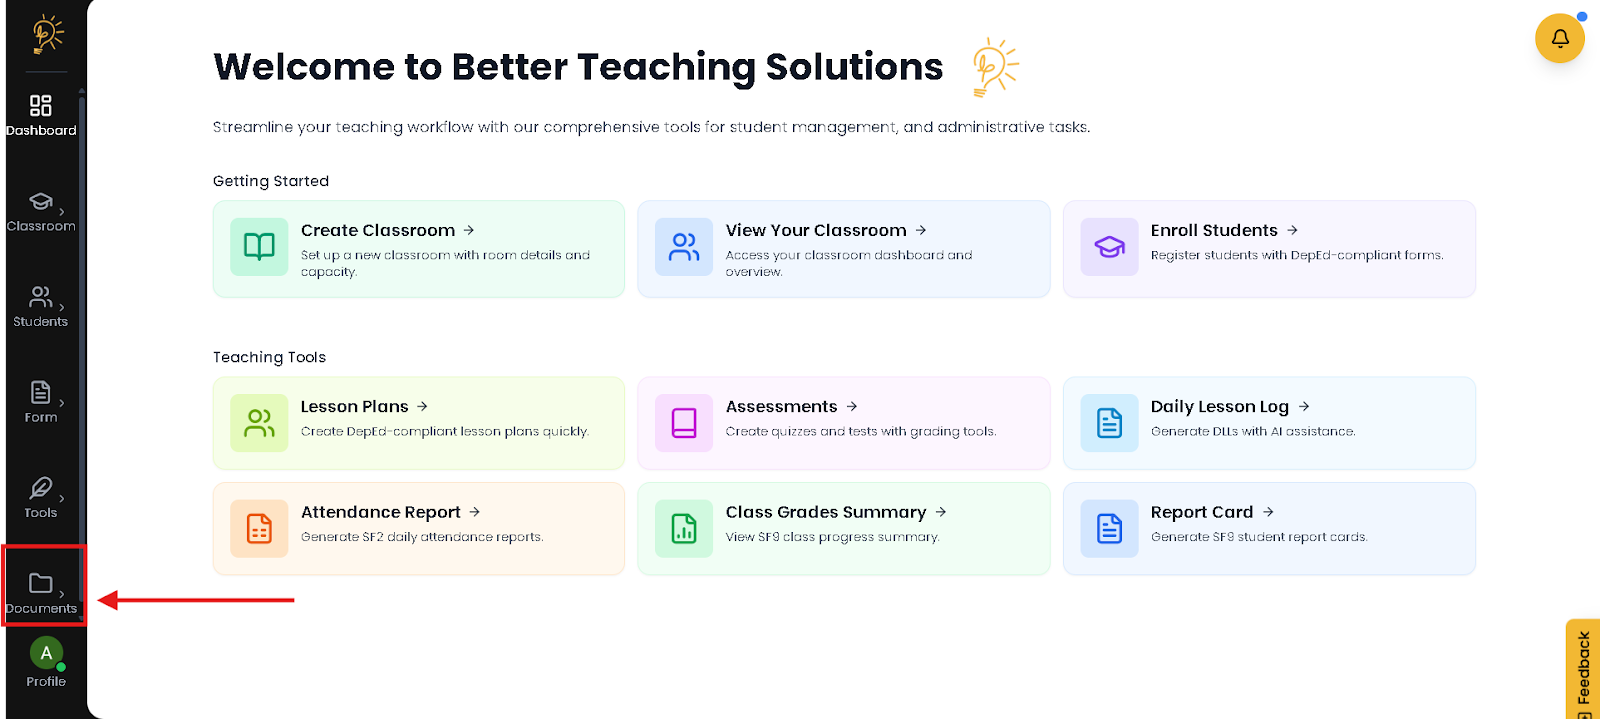
- Navigate your way on the Documents inside the Side Bar
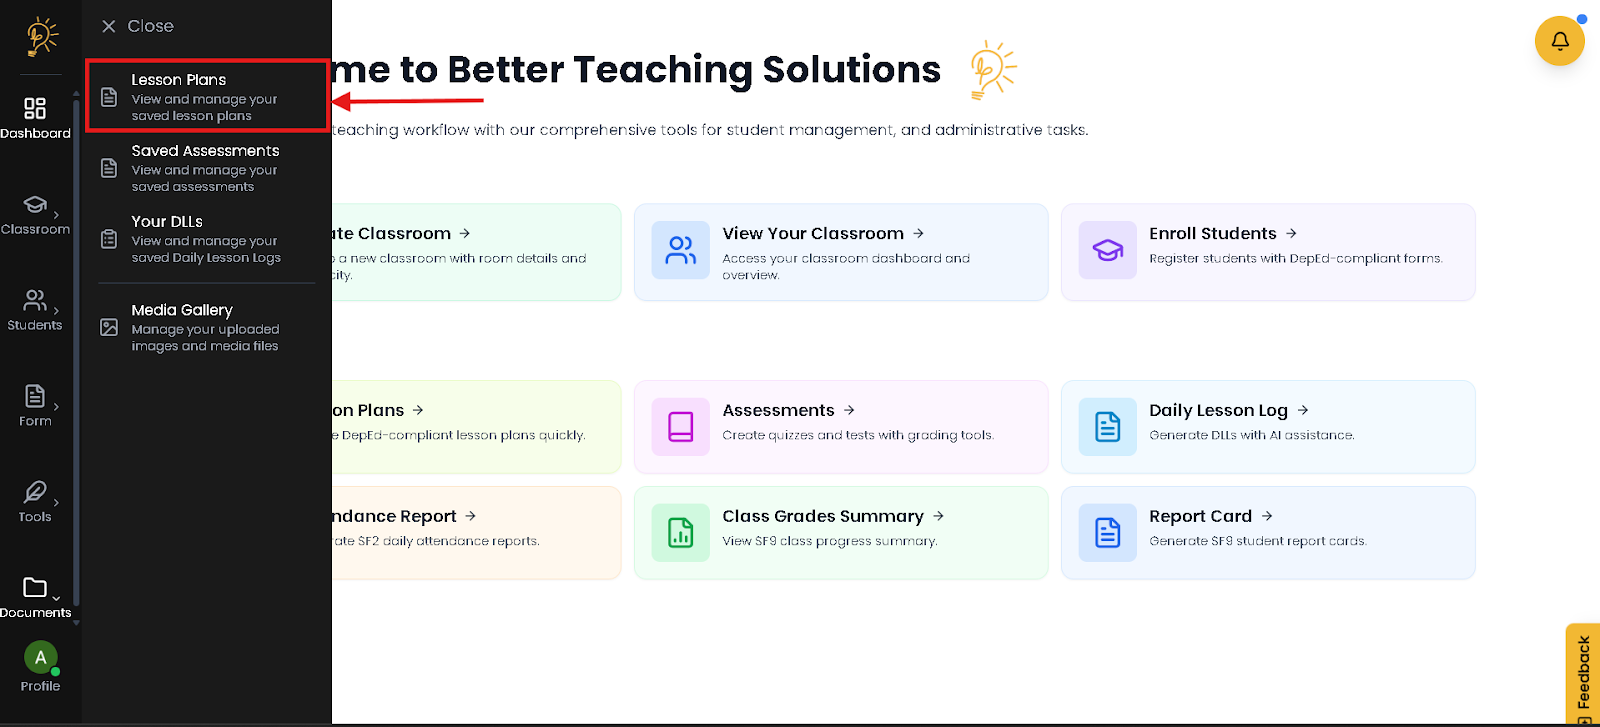
- Click The Lesson Plans on your Documents
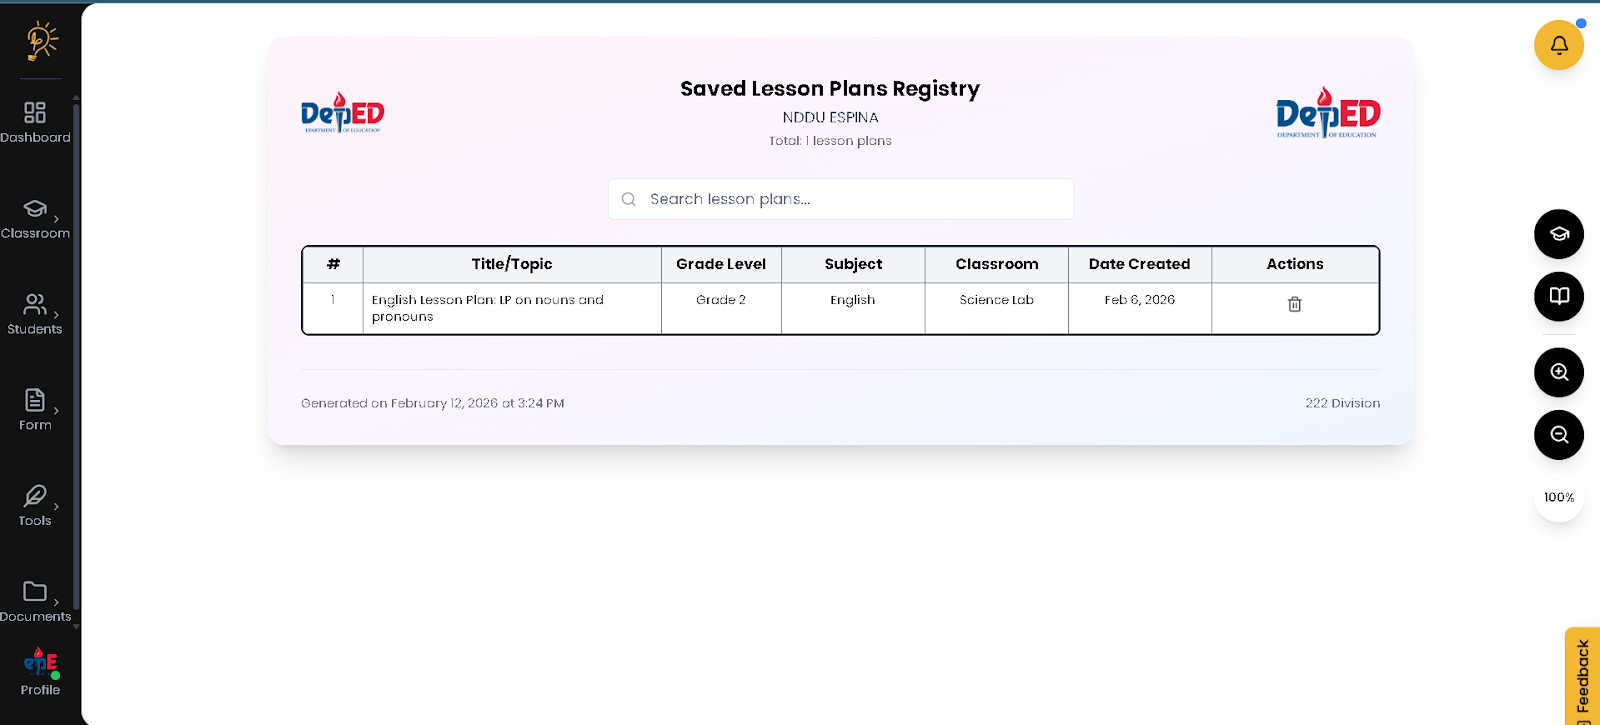
- Inside are the list/s of your generated Lesson Plan
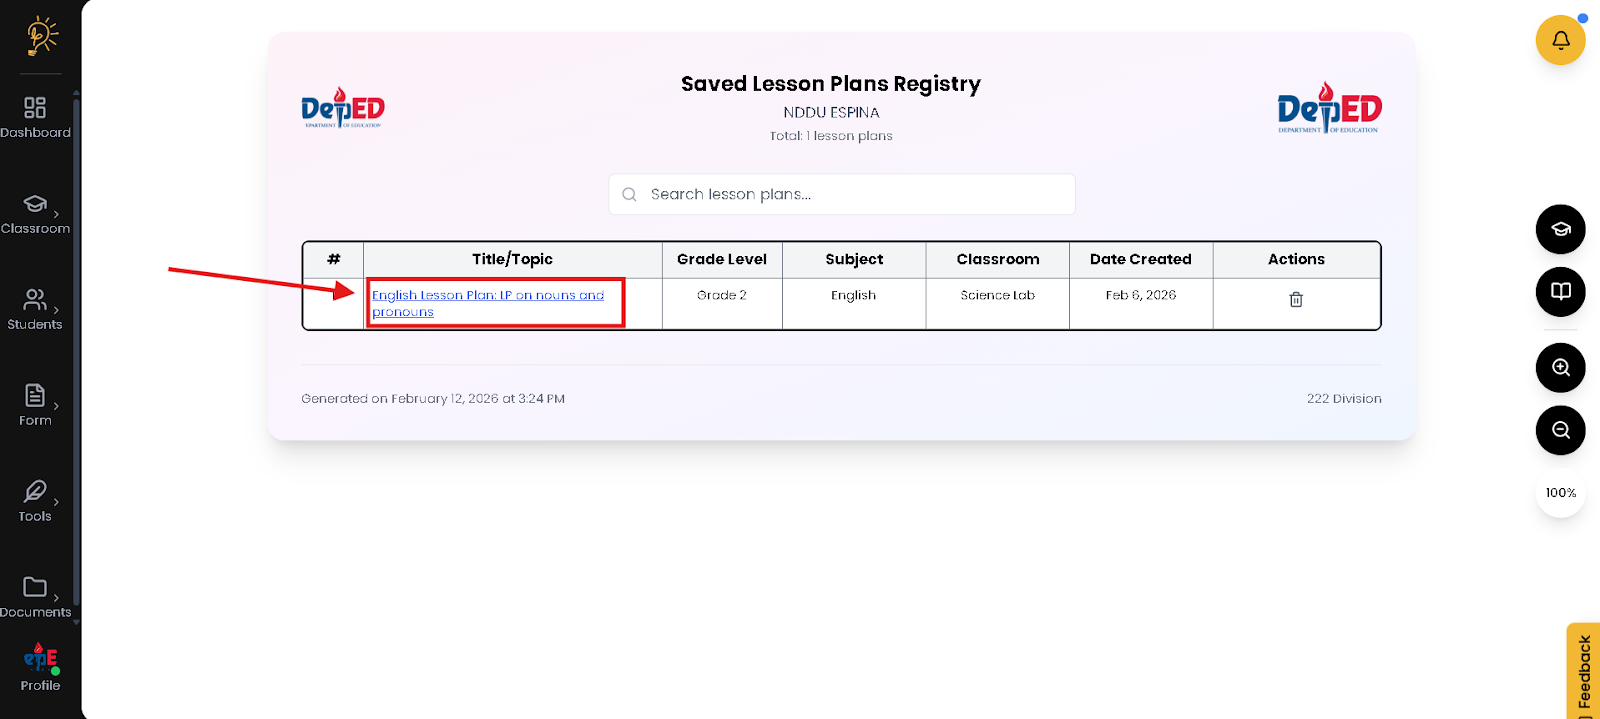
- Click your Lesson Plan to Edit
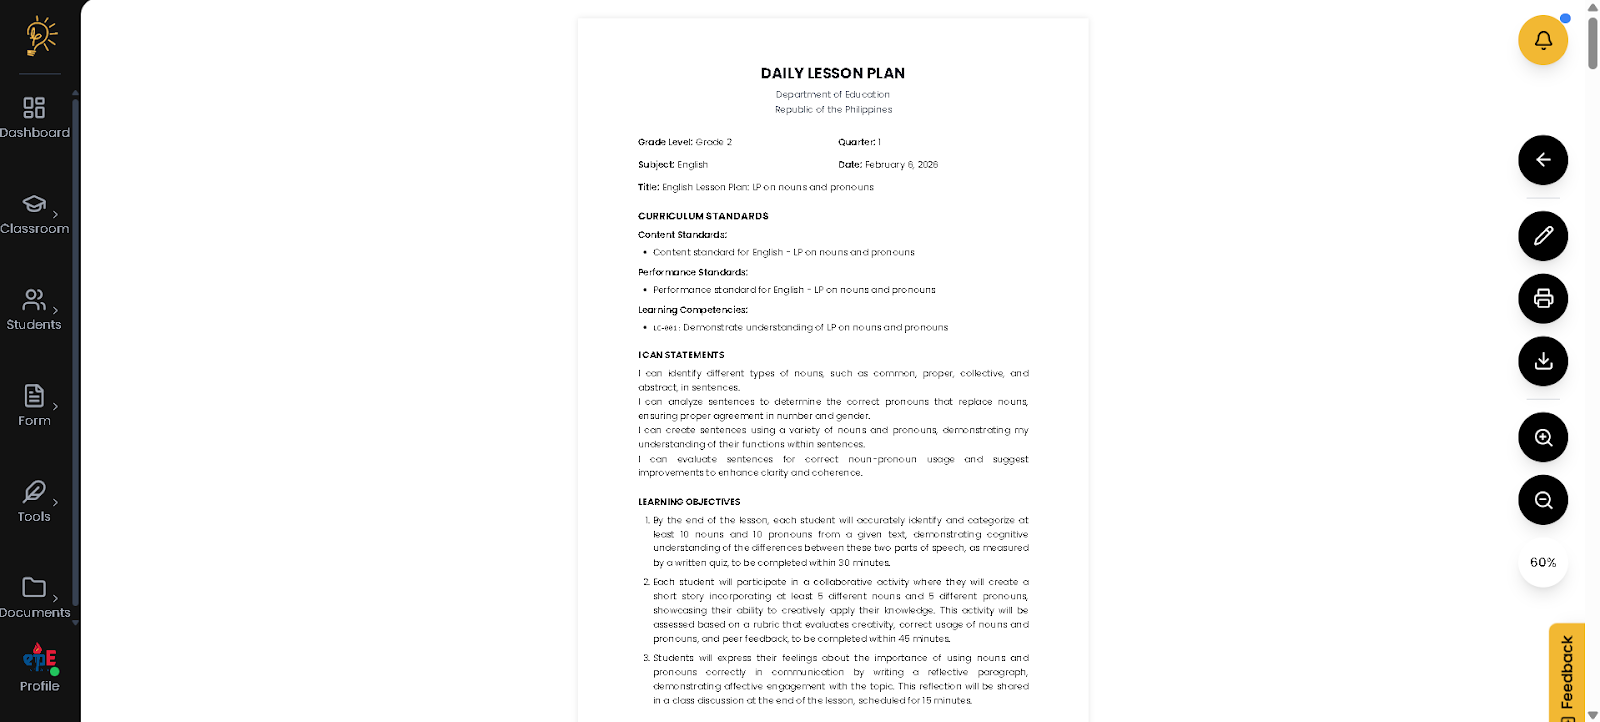
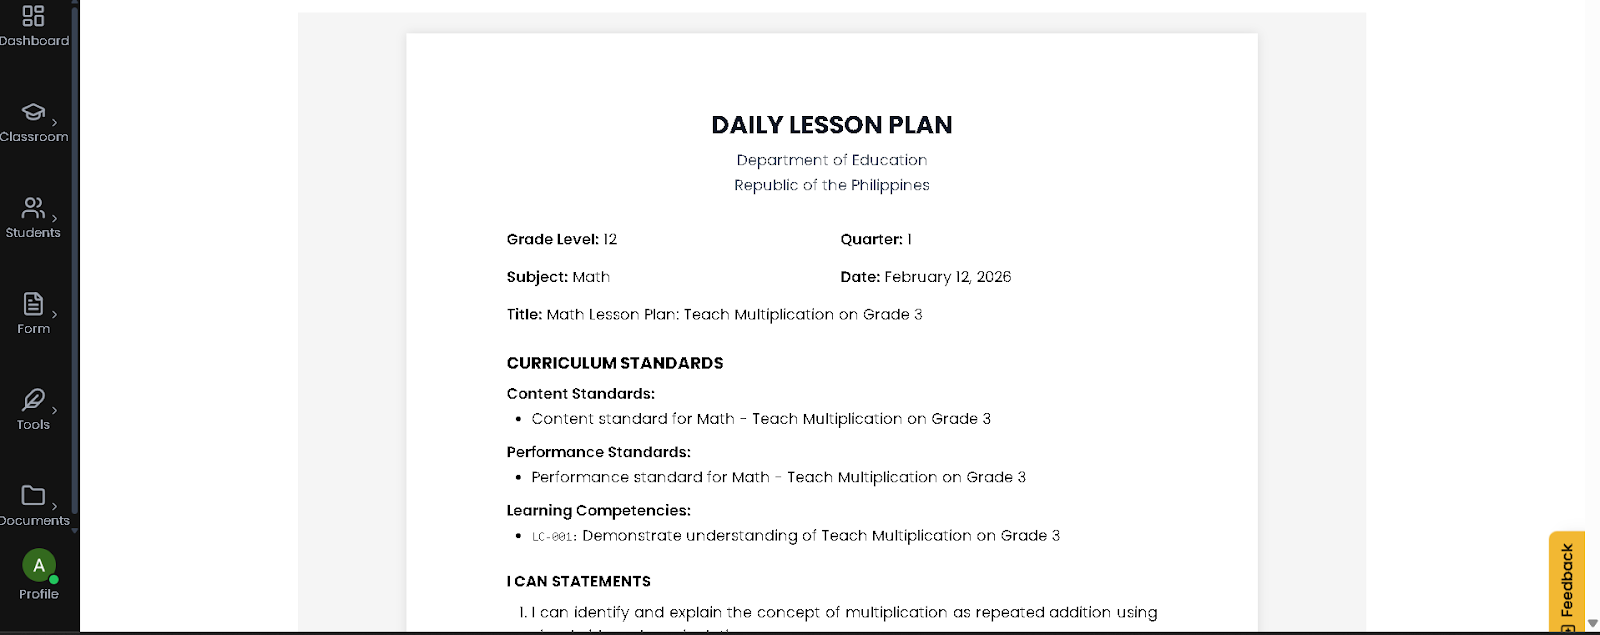
- This is your Full view in your Lesson Plan
STEP 2. Enable Edit on your Saved Lesson Plan
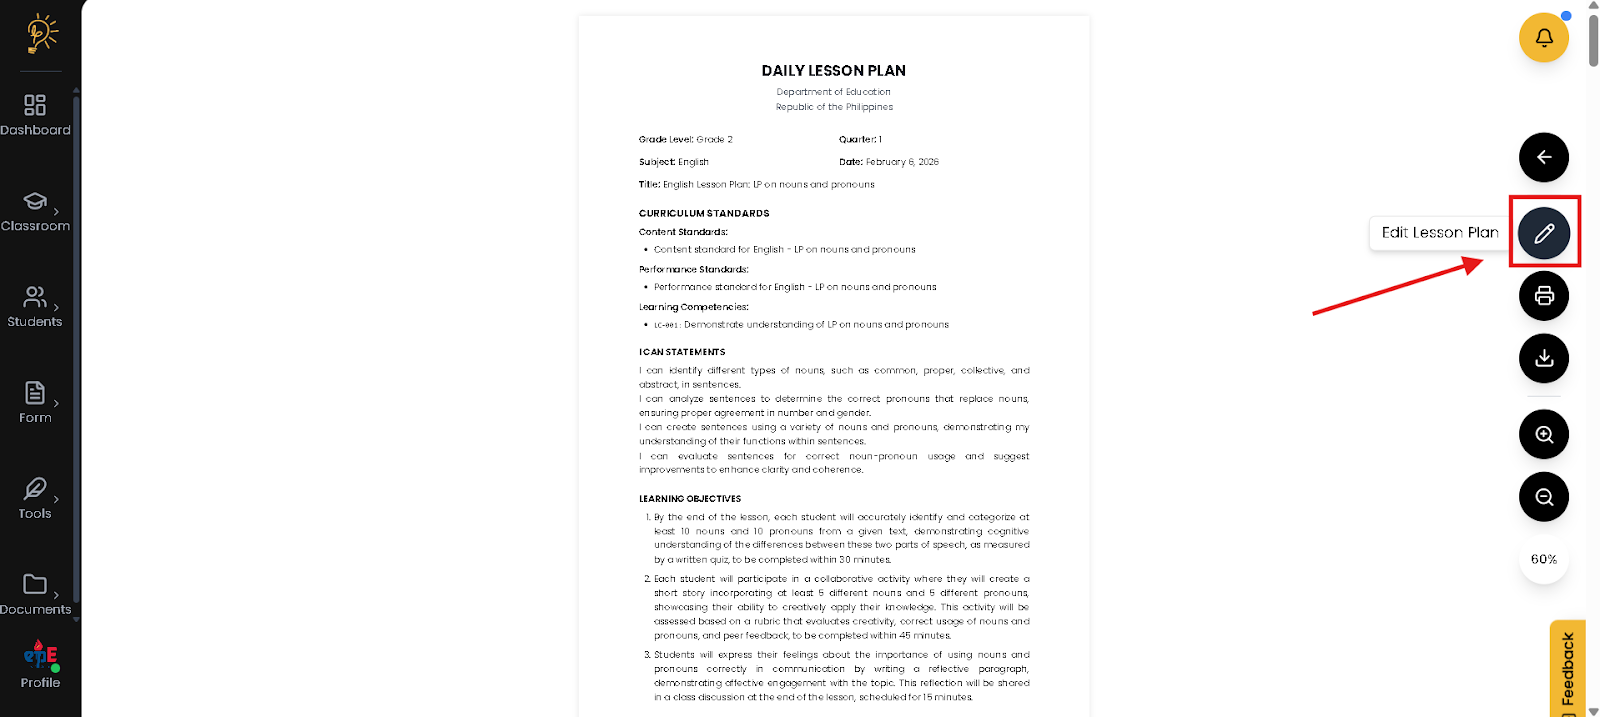
- Hover and Click “Edit Lesson Plan” to enable editing.
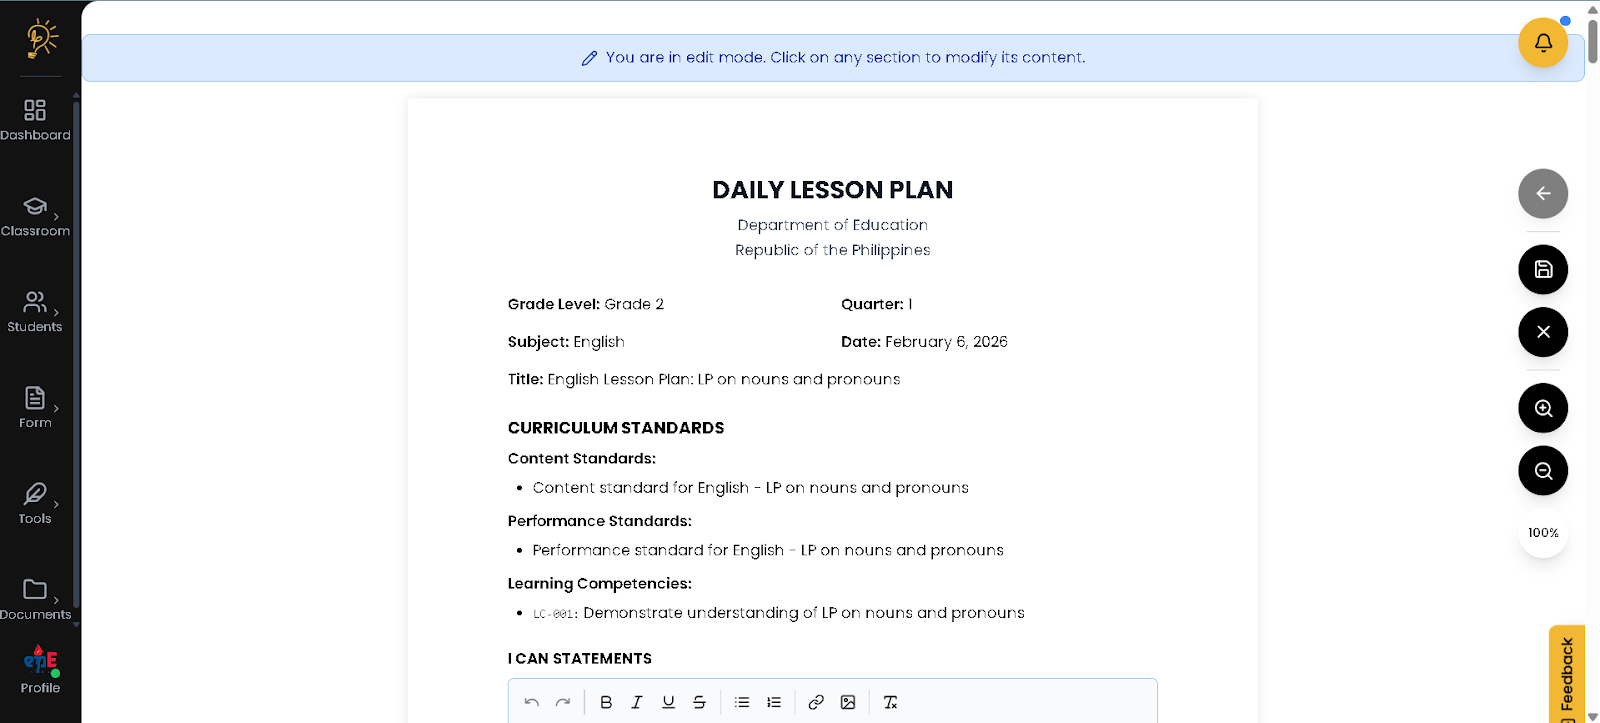
- You will be notified if you are in the editing mode
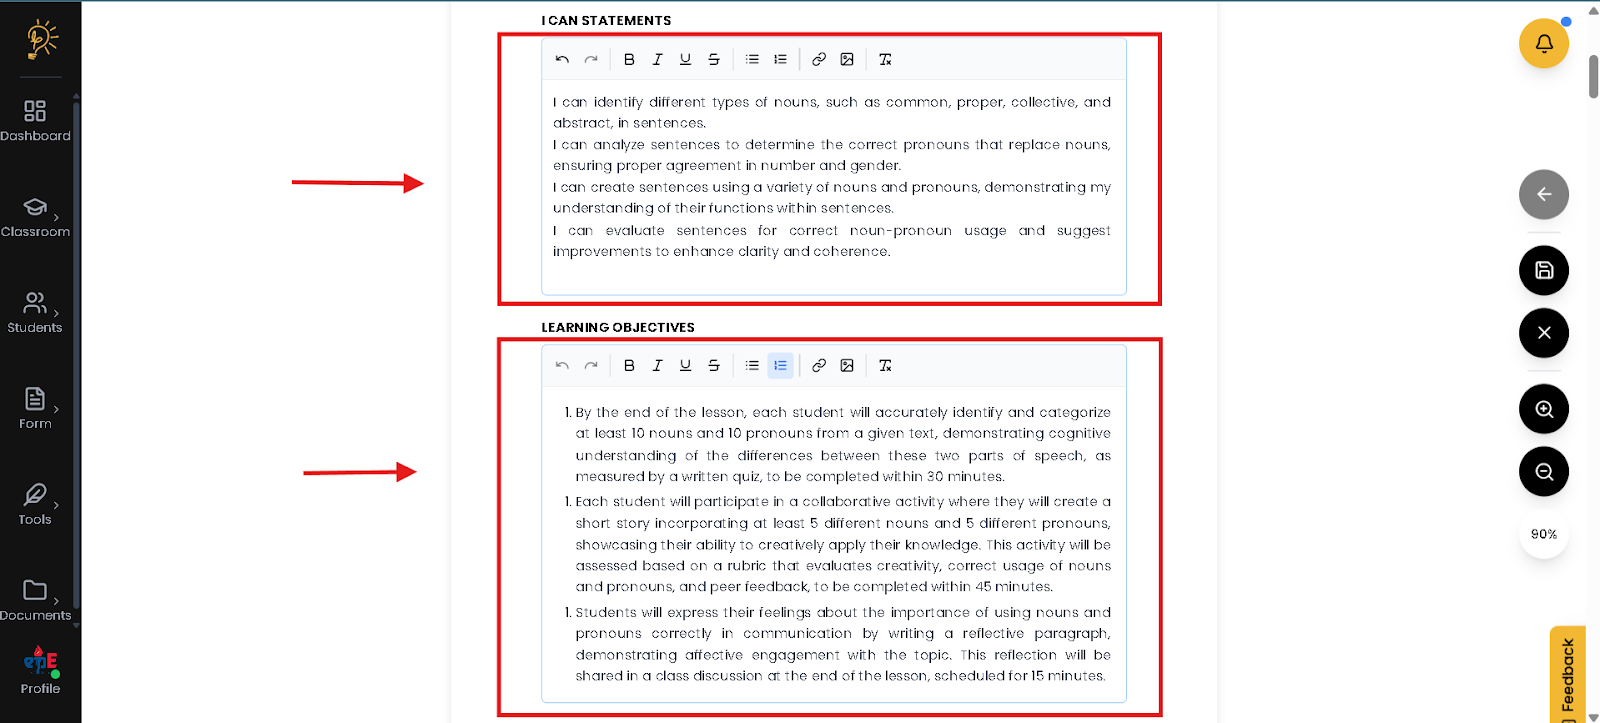
- This is where you can edit your Lesson Plan.
What are the Features of the Editing Mode?
These are the following features on the Editing mode given by the better teaching solutions
Undo (↩) – Reverses your last action if you made a mistake.
Redo (↪) – Restores the last action you undid.
Bold (B) – Makes selected text thicker for emphasis or headings.
Italic (I) – Slants text for titles or special terms.
Underline (U) – Adds a line under text to highlight important points.
Strikethrough (S) – Draws a line through text to show removal or completion.
Clear Formatting (Tx) – Removes all text styling and resets it to normal.
Bullet List (•) – Creates a simple dotted list for items or materials.
Numbered List (1.) – Creates a numbered list for step-by-step instructions.
Insert Link (🔗) – Turns selected text into a clickable web link.
Insert Image (🖼️) – Allows you to add images or diagrams directly into the log.
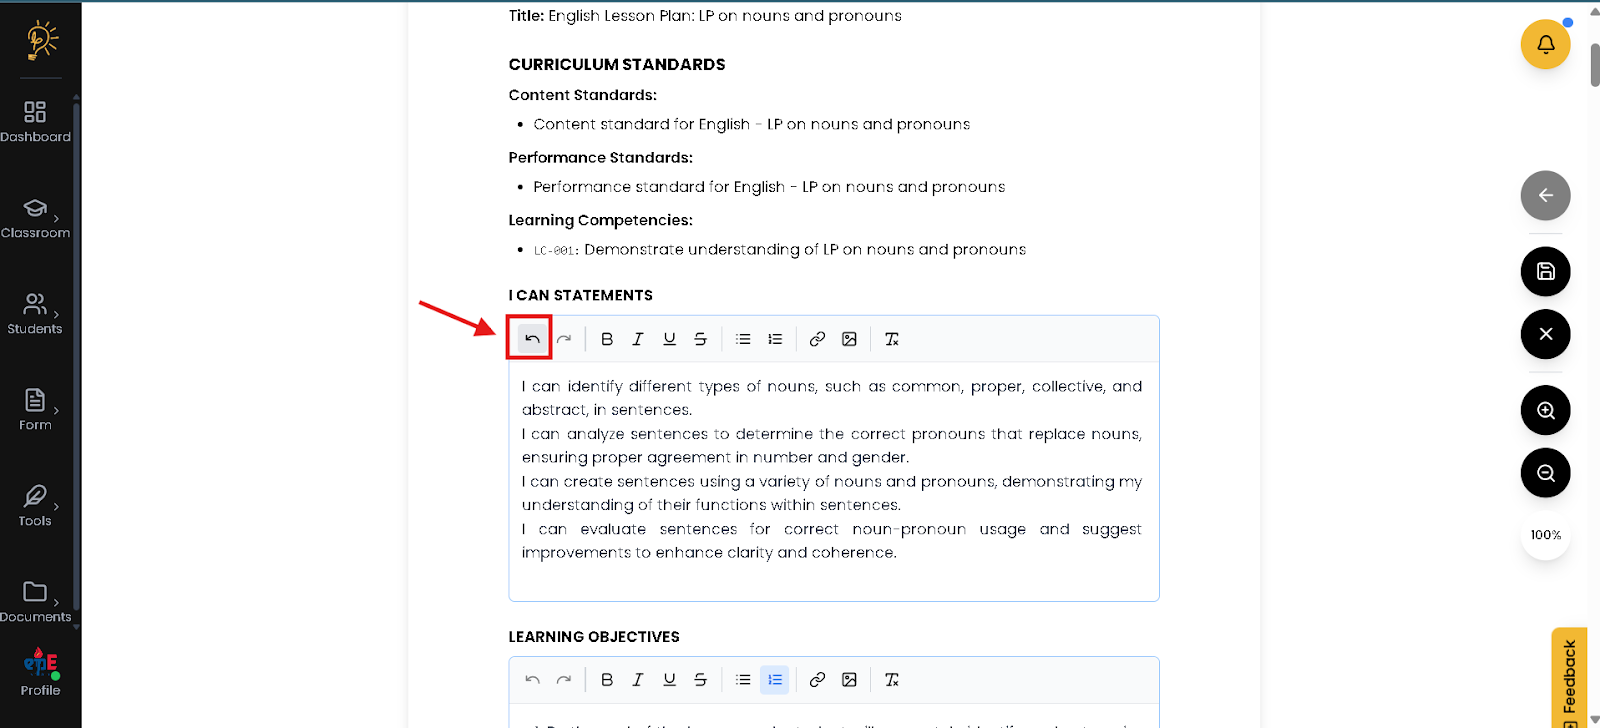
- Click the button if you want to “Undo” your edits
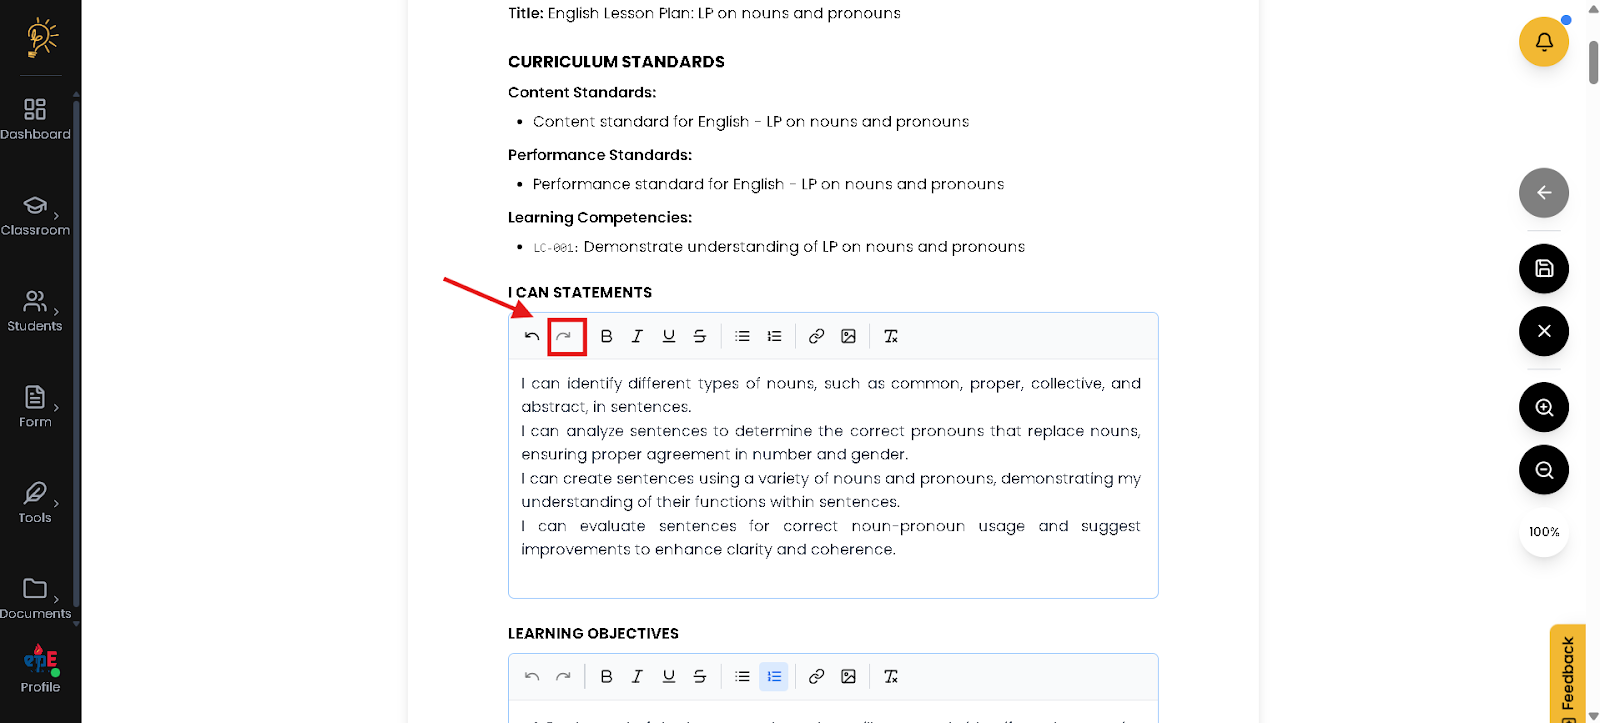
- Click the button if you want to “Redo” your edits
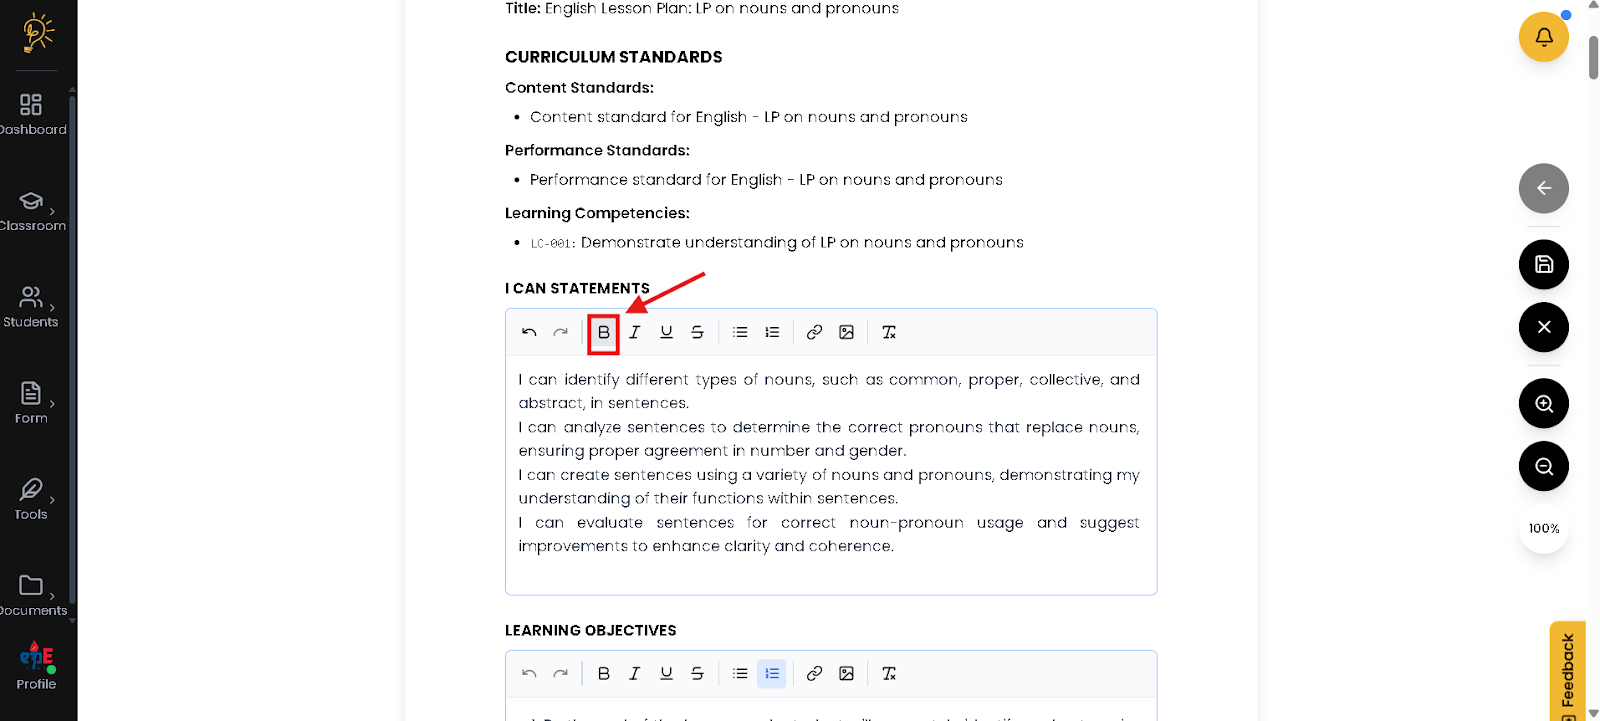
- Click the B button if you want to use Bold on your edit

- Click the button if you want to use Italic on your edit
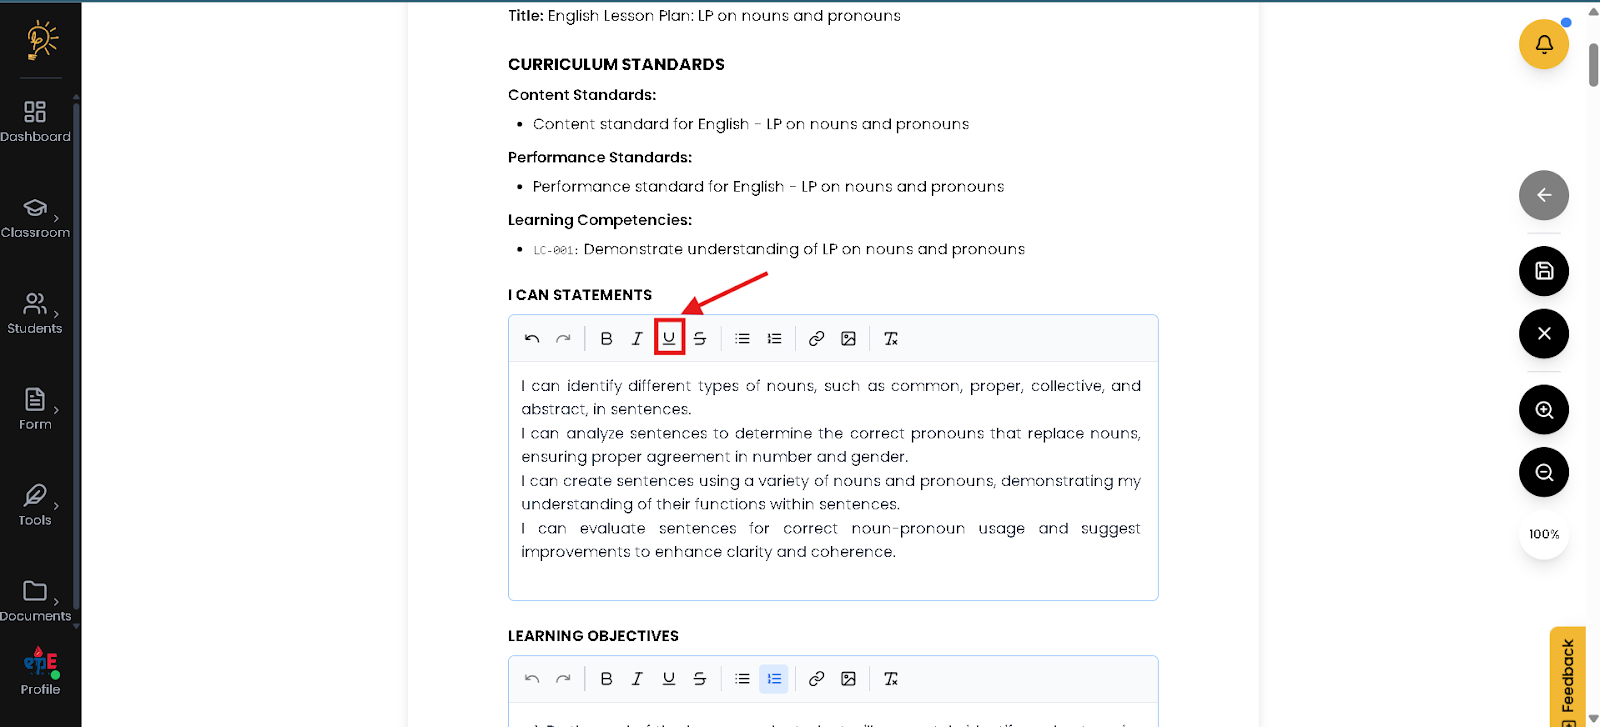
- Click the button if you want to Underline your edited text
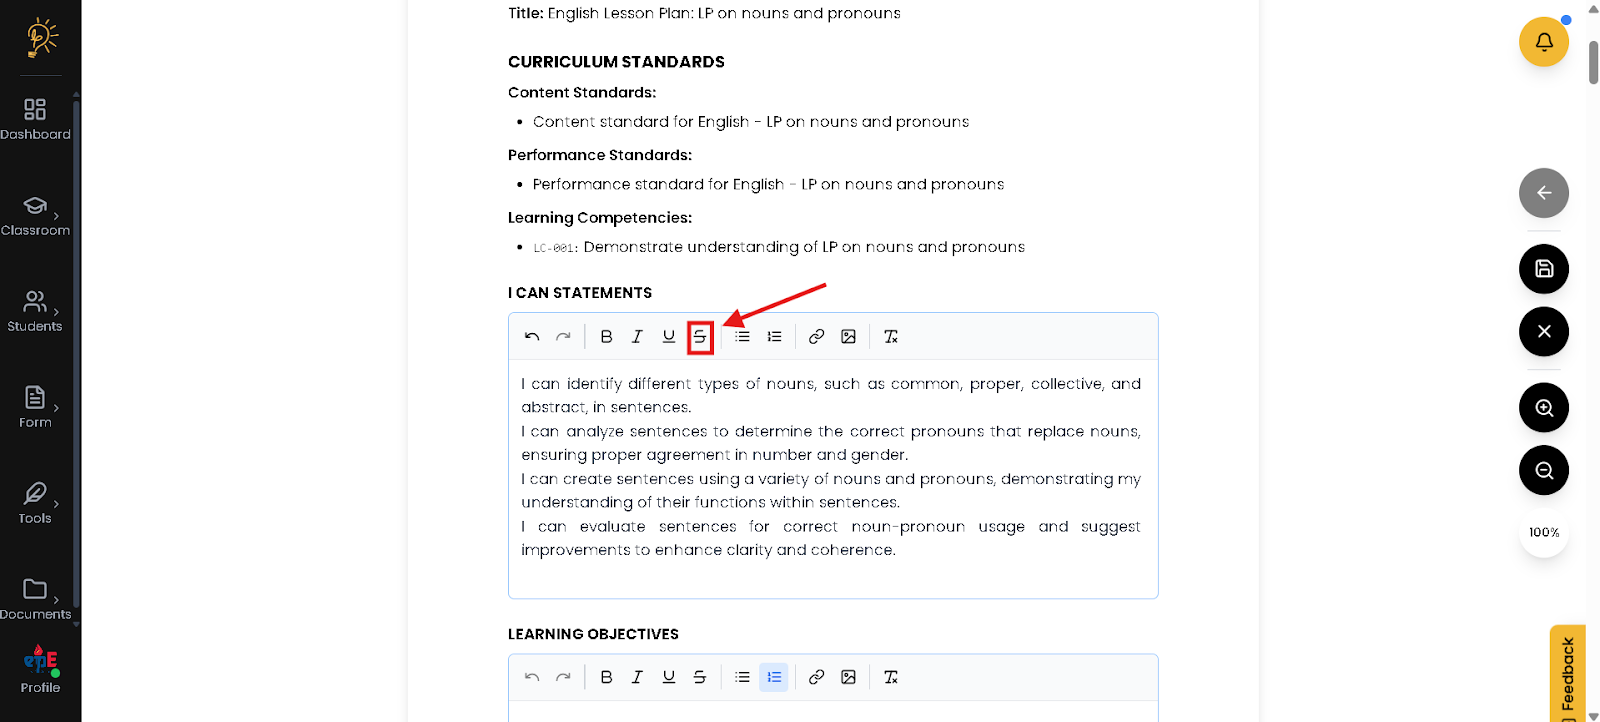
- Click the button if you want to use Strikethrough on your edited text
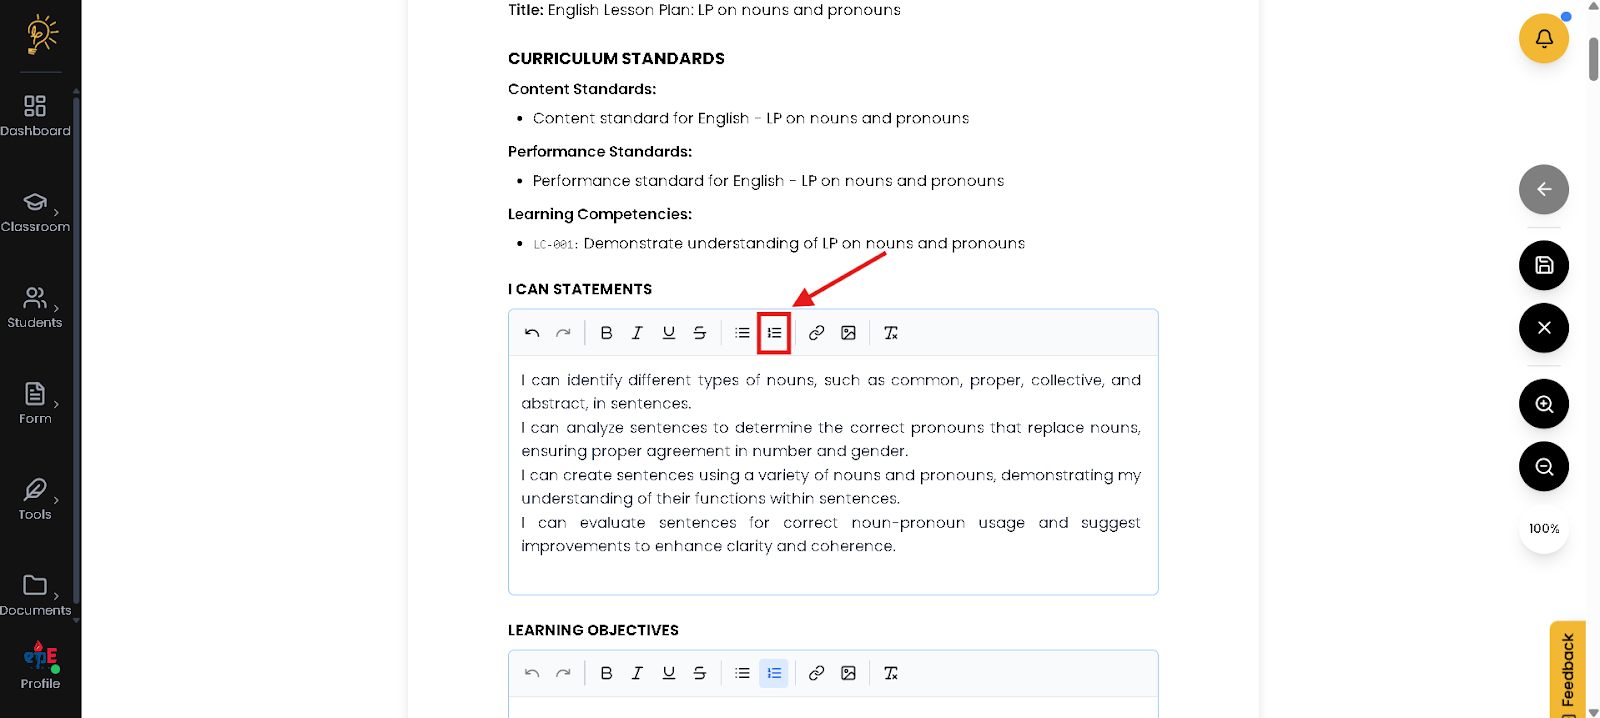
- Click the button if you want to use Numbered list on your edited text
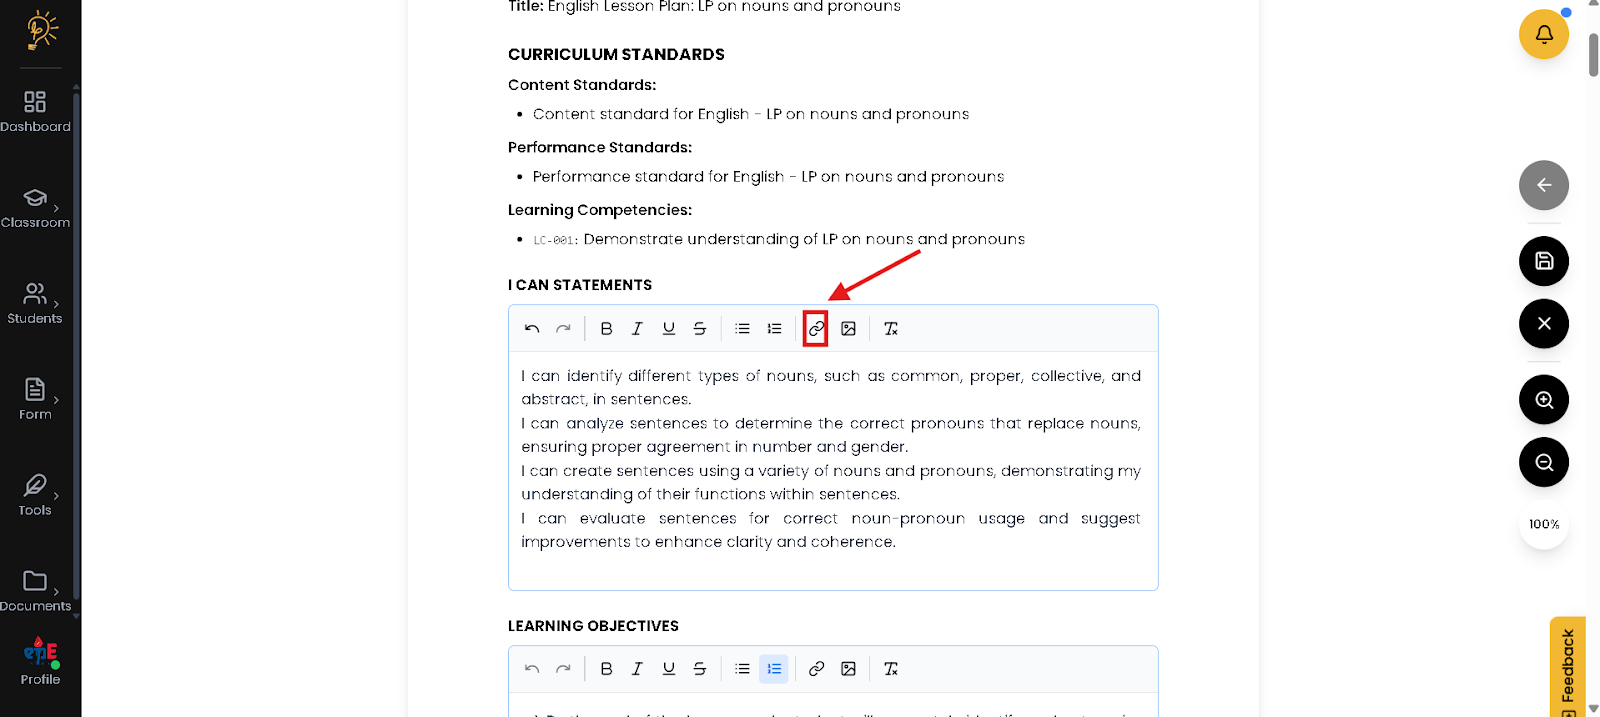
- Click the button if you want to use Insert link on your edit field

- Click the button if you want to use Insert Picture on your edit field
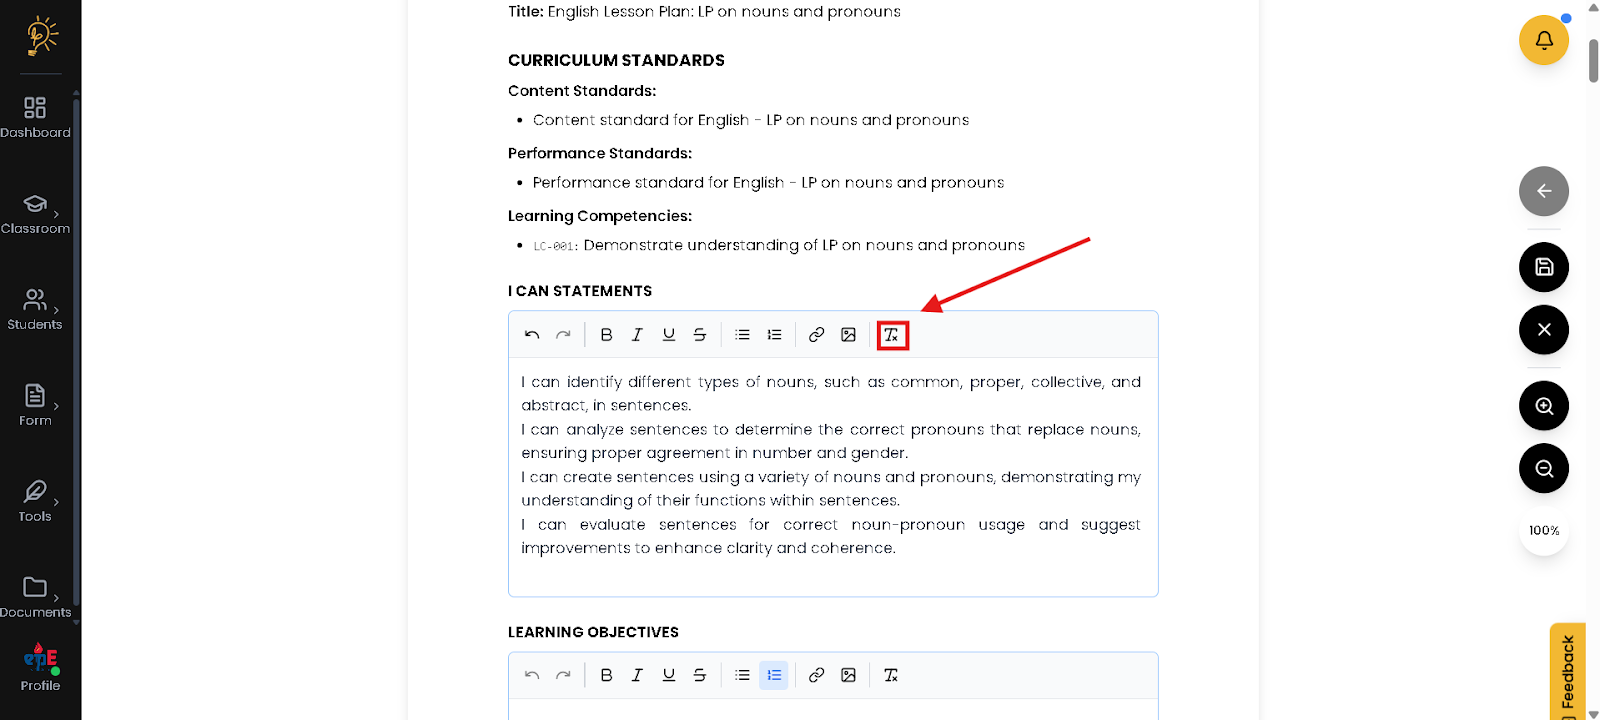
- Click the button if you want to use Clear Formatting on your edit field
After your edits, Save your Changes
Saving ensures that all your edits are securely recorded in the system and reflected in your official log. This prevents accidental data loss and keeps your weekly documentation accurate and up to date. Regularly saving your work is important to maintain compliance and avoid losing important teaching records.
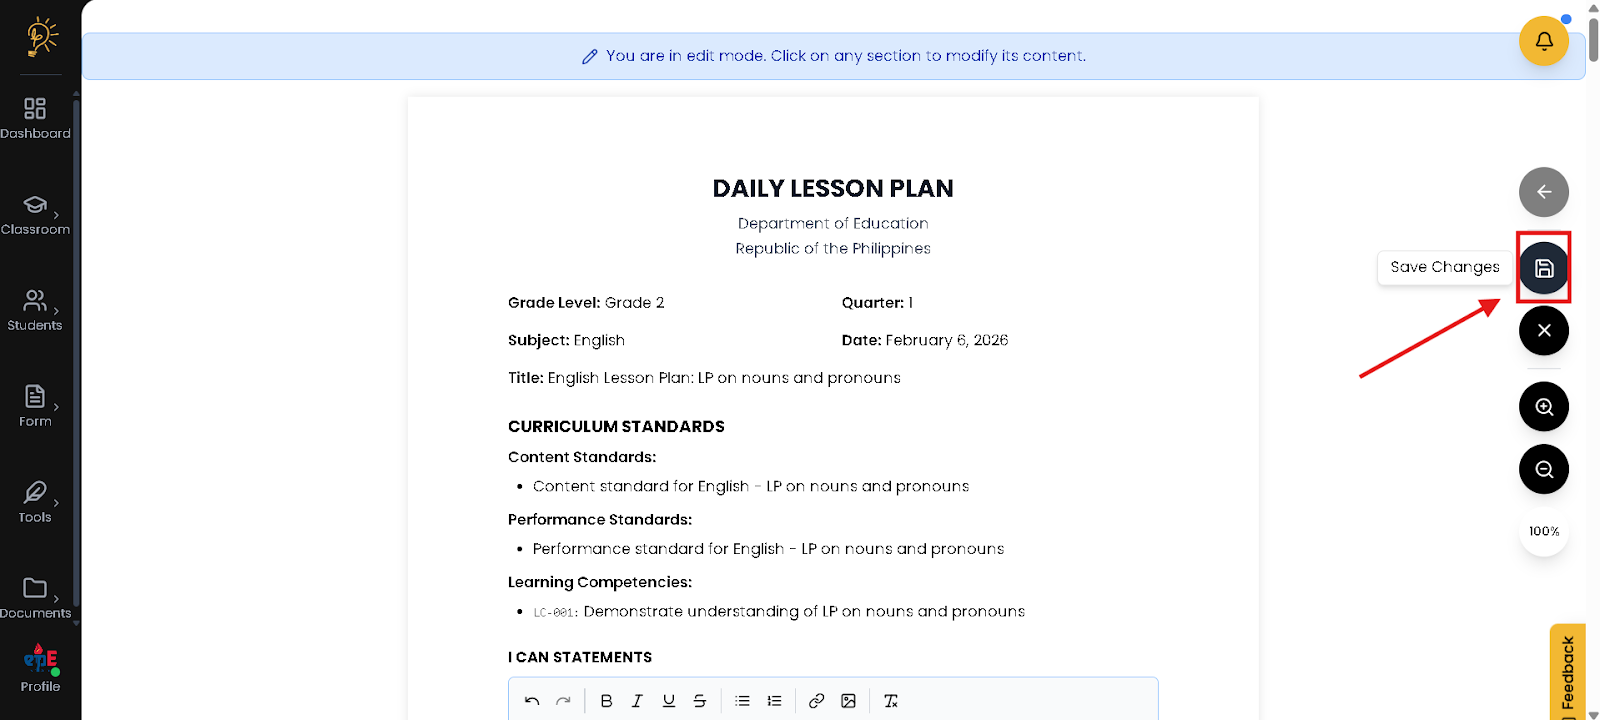
- Click the icon on the side bar for you to save your changes
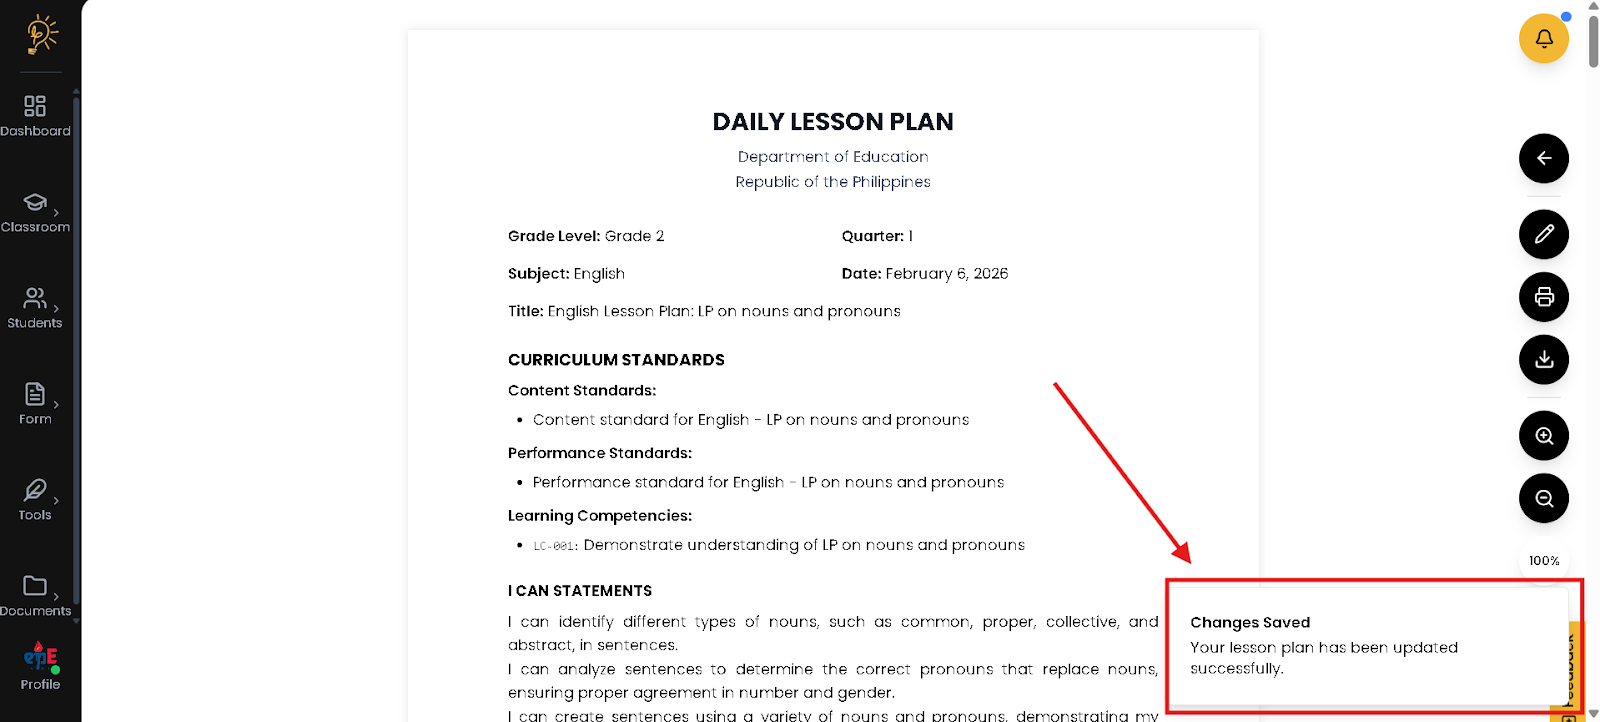
- You will get this notification if you successfully saved your changes
How to Print Your Lesson Plan?
The Print feature opens a clean, distraction-free version of your lesson plan that removes menus and buttons for proper formatting. This ensures your document follows a professional, DepEd-ready layout when printed. It allows you to quickly produce a hard copy for submission, review, or classroom use without additional formatting.
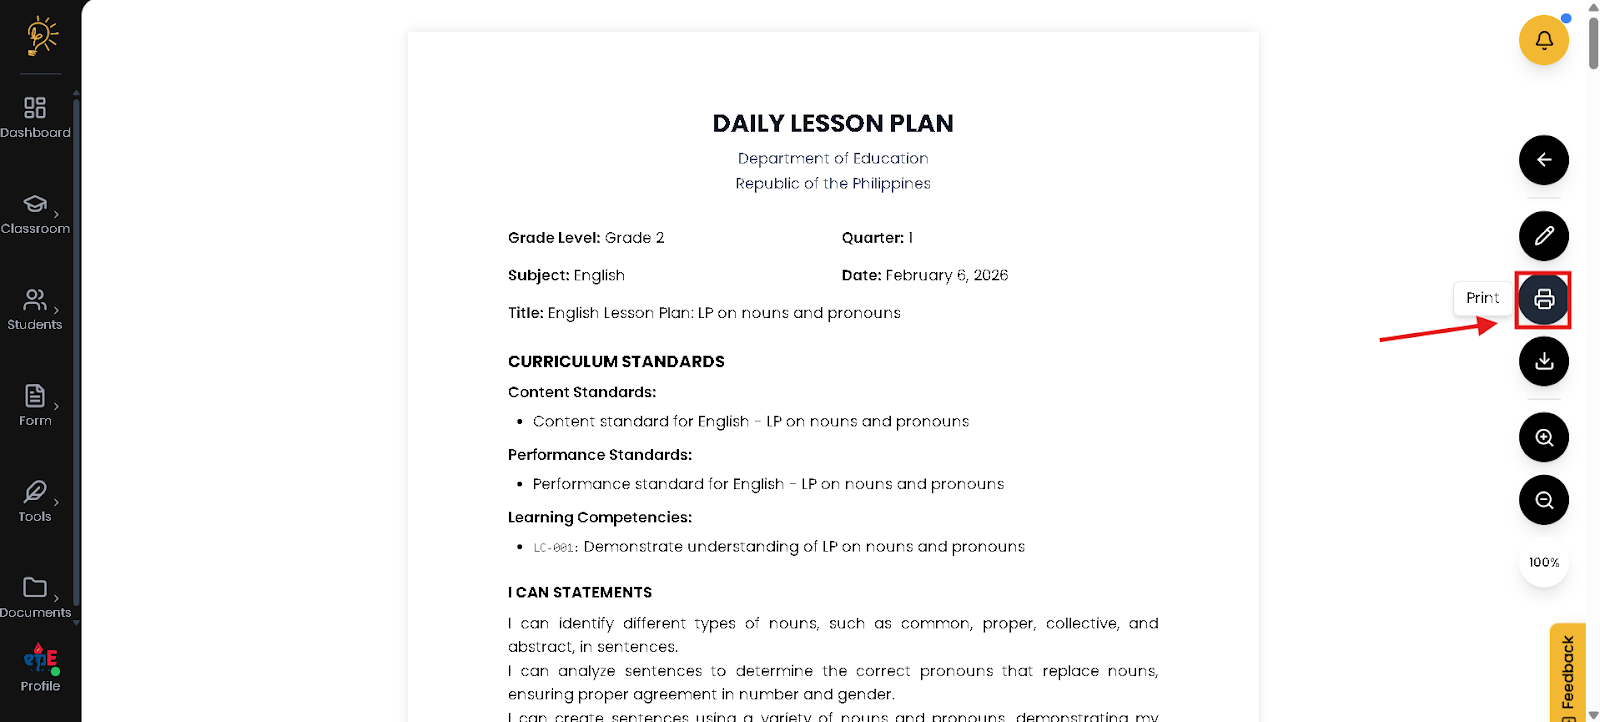
- Click the button for printing.
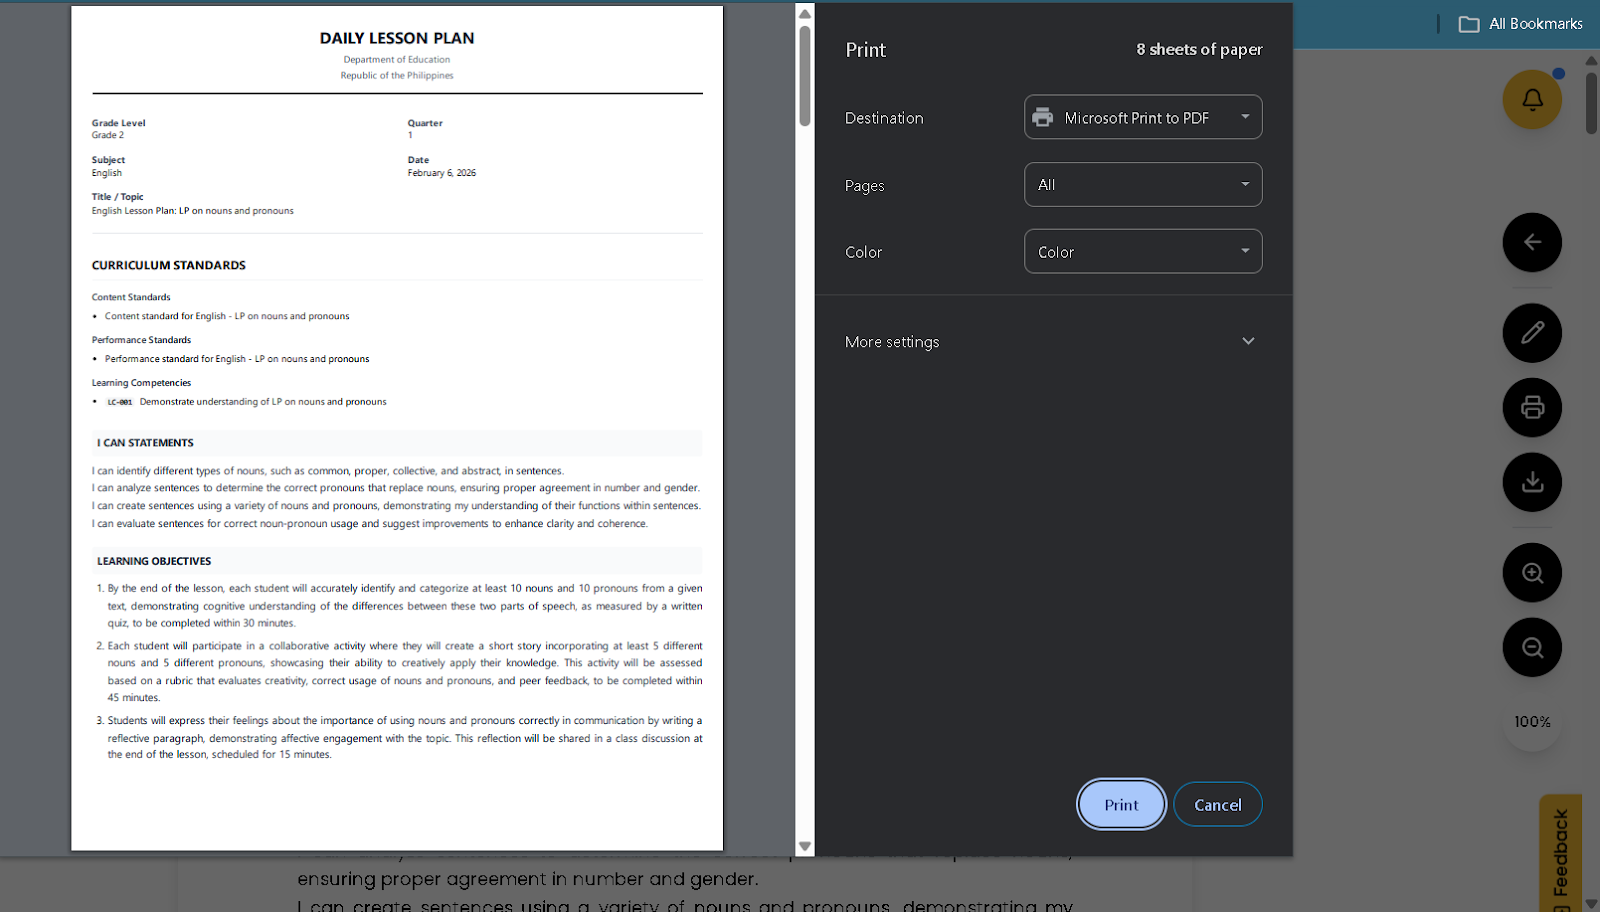
- Review your Daily Lesson Plan before Printing
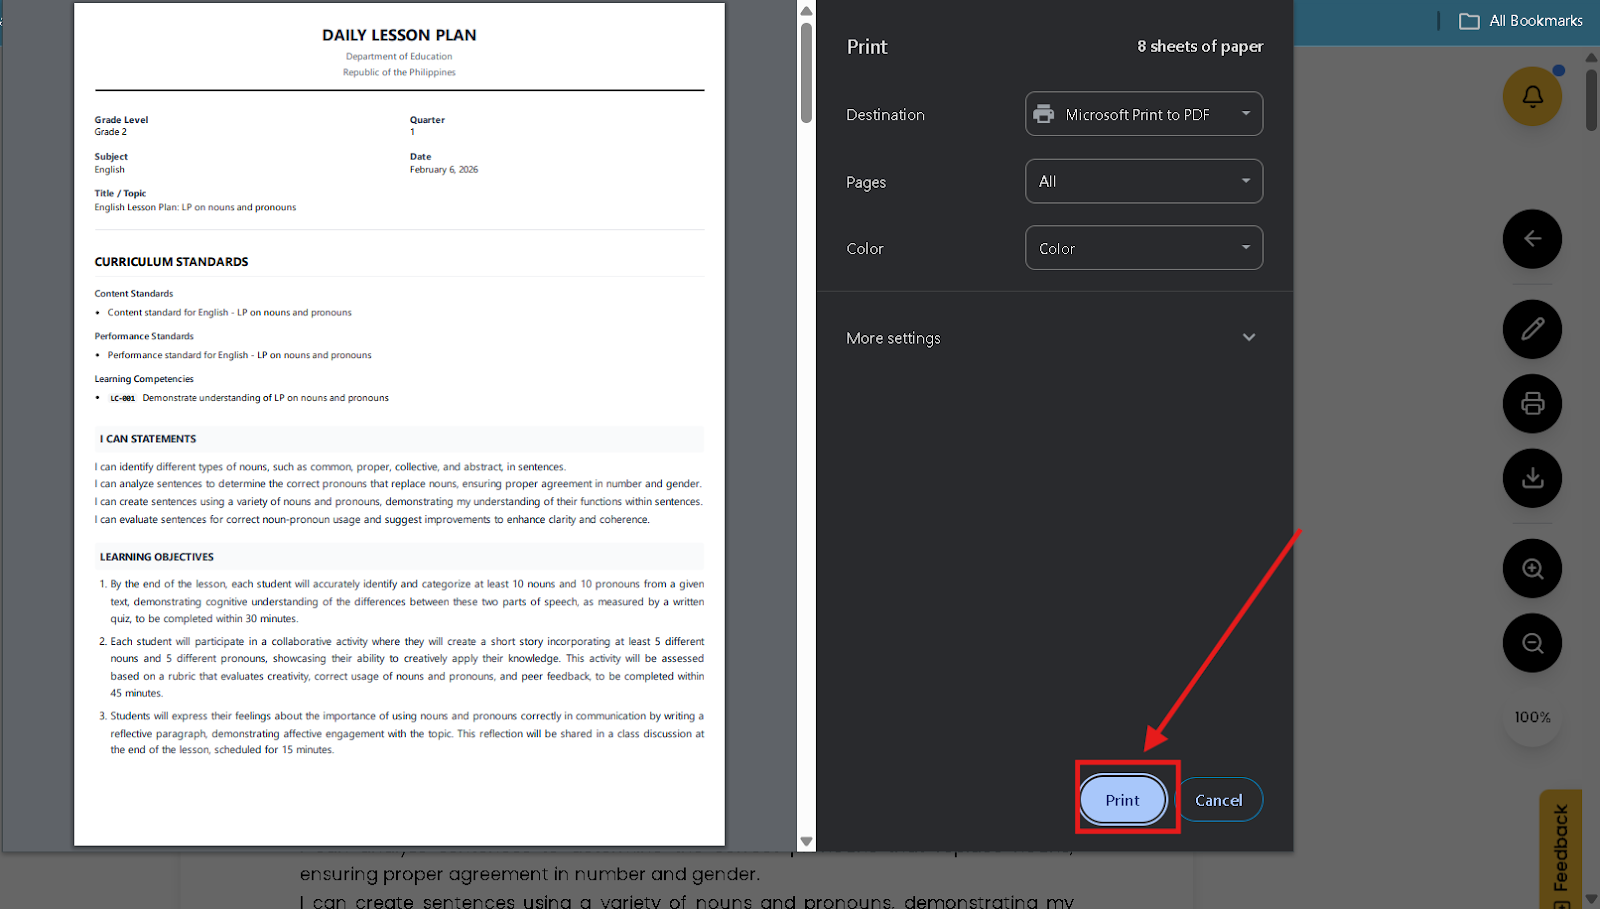
- Click the “print” button to proceed printing
You can download your Daily Lesson Plan here
The Download feature allows you to export your Daily Lesson Log or Lesson Plan as an editable Word (.docx) document. This makes it easy to make final adjustments, share with colleagues, or submit to your department head. It ensures you have a portable, submission-ready copy saved outside the system.
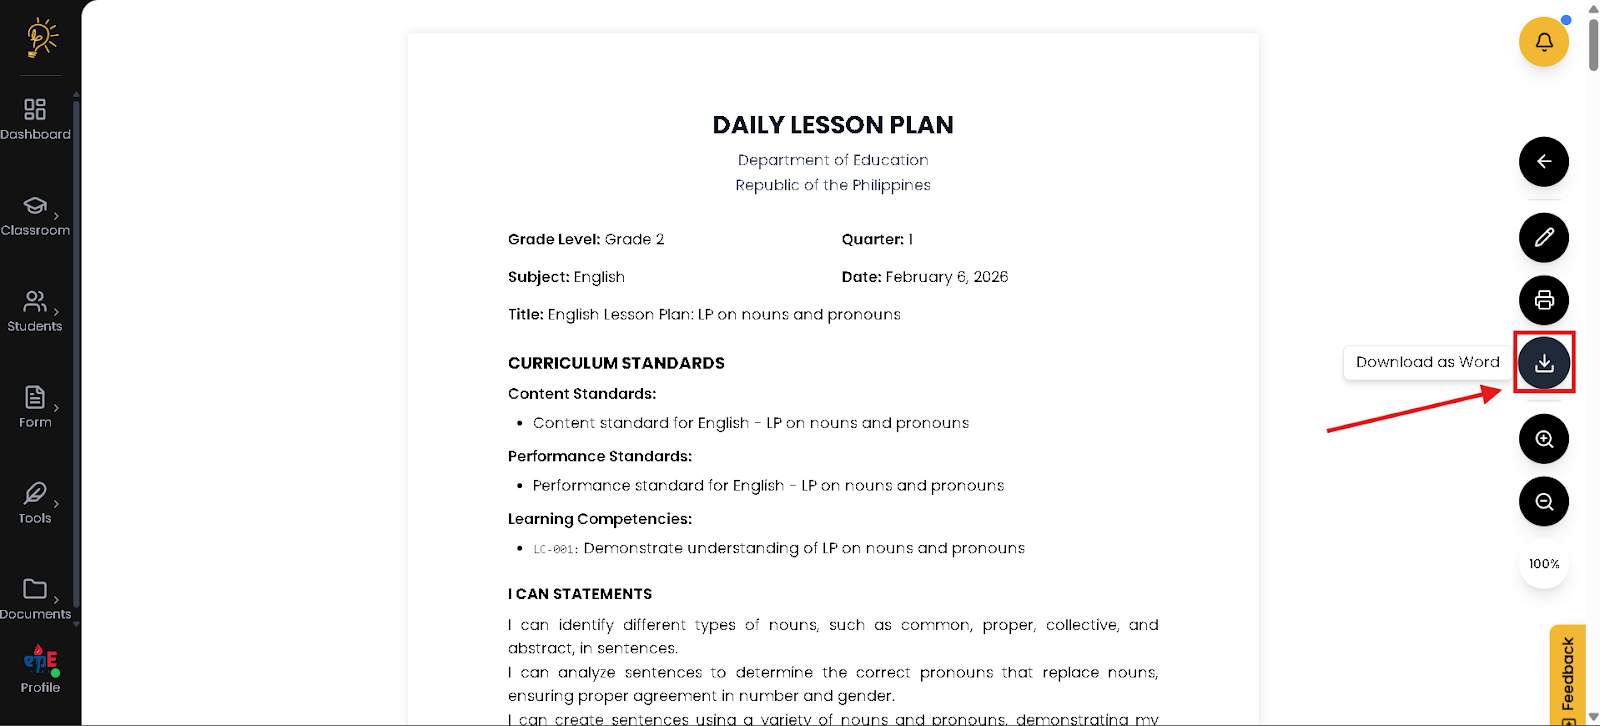
- Click the button to Download your Daily Lesson Plan
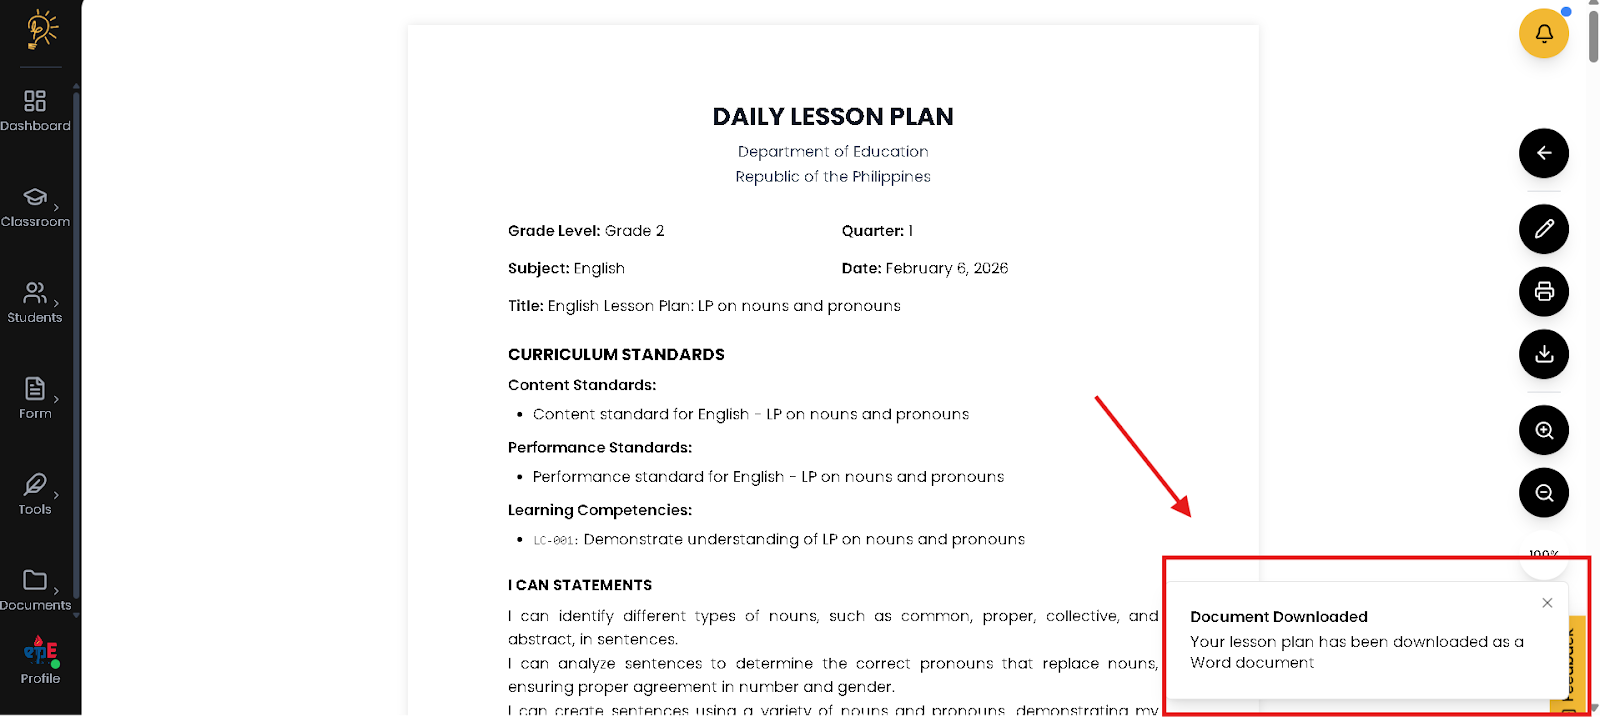
- You will be notified if you had downloaded the (.docx) file of your Daily Lesson Plan
Author
Better Teaching Solutions
Making teaching easier, giving more time for our hard working teachers!